
Following on from my previous post where I explain how to package an application in App Volumes, this post explains how to perform an update to an existing application which is already packaged.
Confirm Current Version
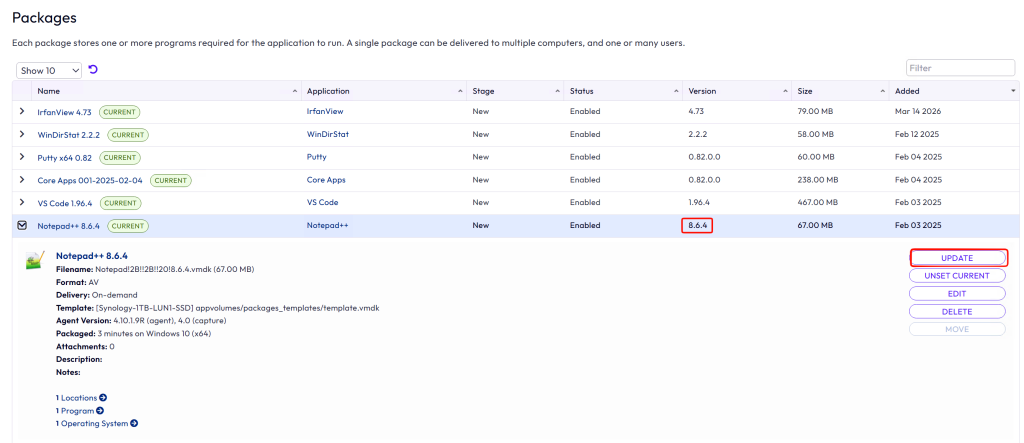
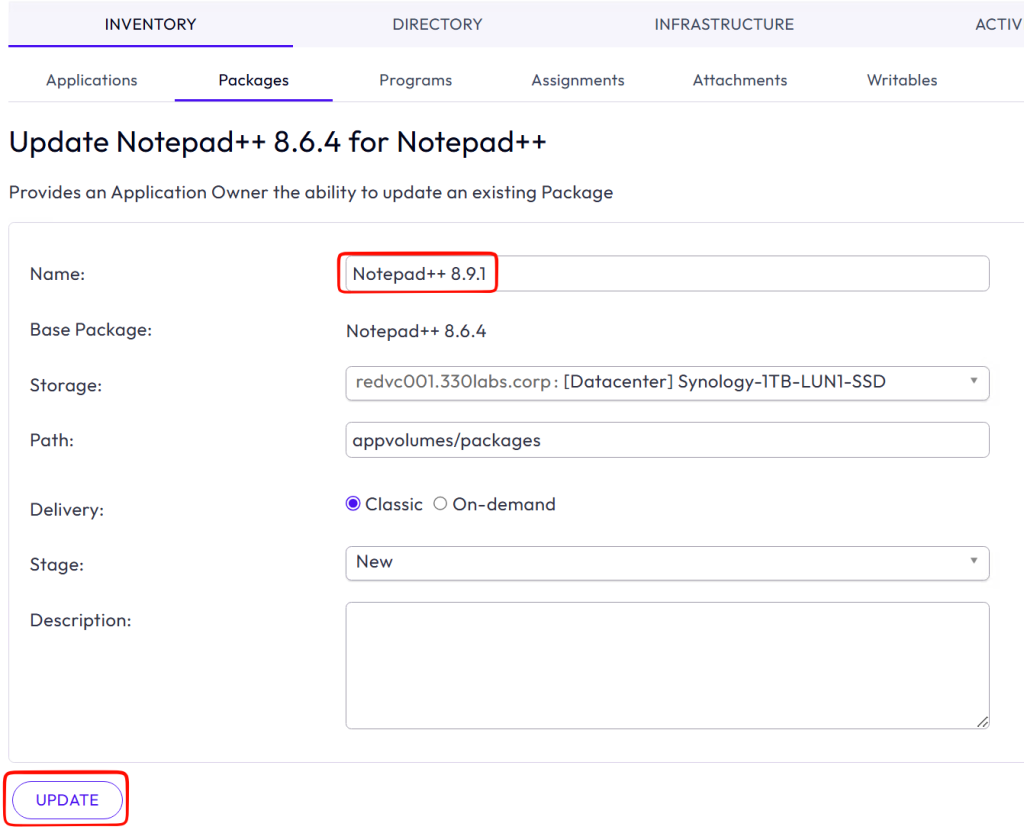
As you can see in this example, I have Notepad++ version 8.6.4. I plan to update this to version 8.9.1. In the App Volumes manager, browse to Inventory > Packages and select the package you want to update, then press Update
Create Updated Package
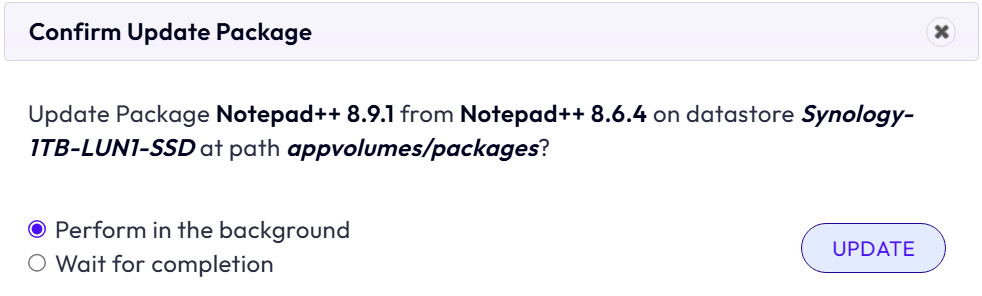
Give the updated package a suitable name and version number, and press Update. Confirm the creation of the updated package.
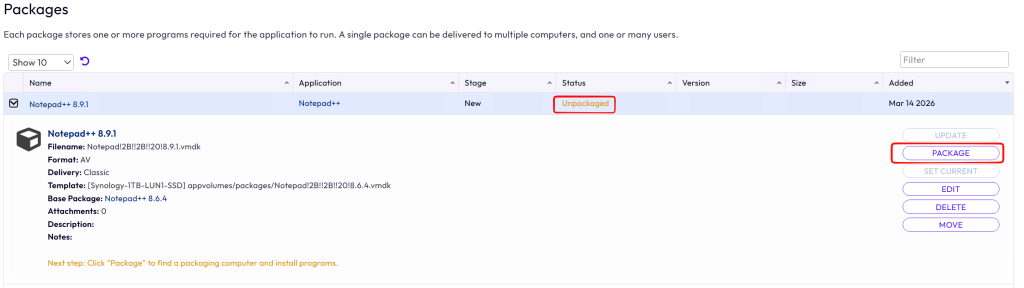
You can now see the newly created package in the App Volumes manager with the status of Unpackaged. Press Package.
Begin Packaging Process
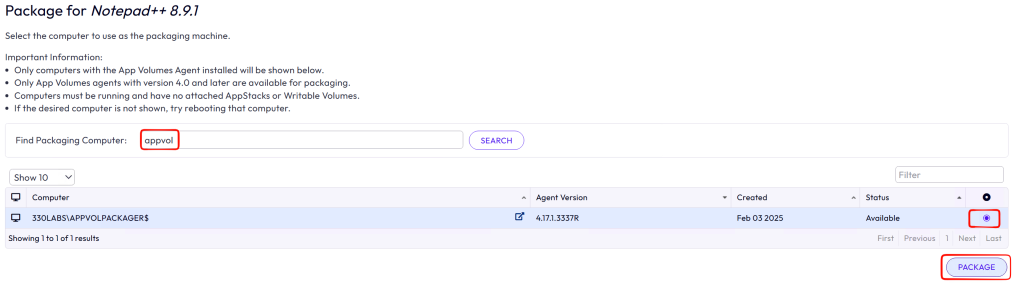
Search for the packager VM. Select it and press Package.
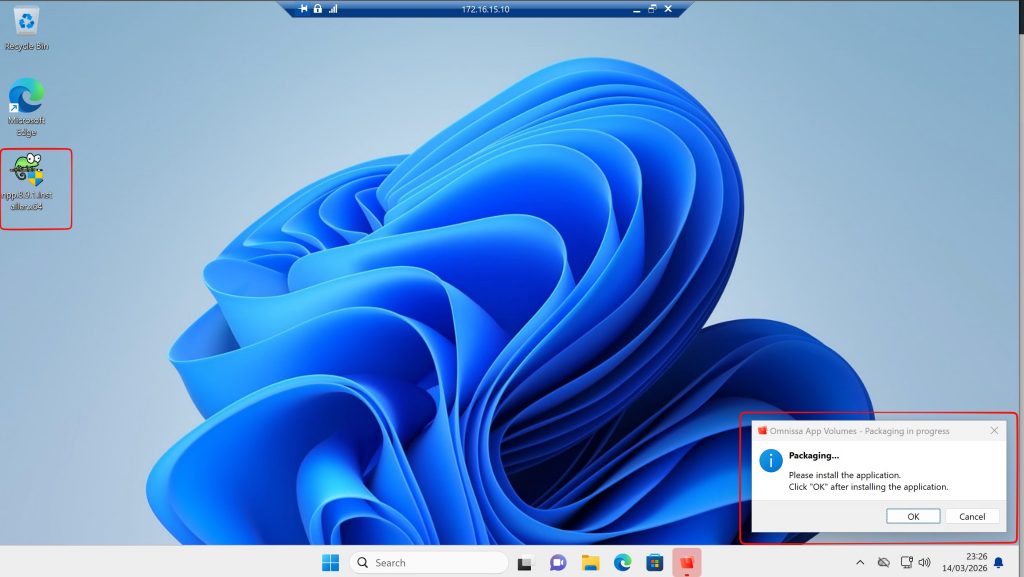
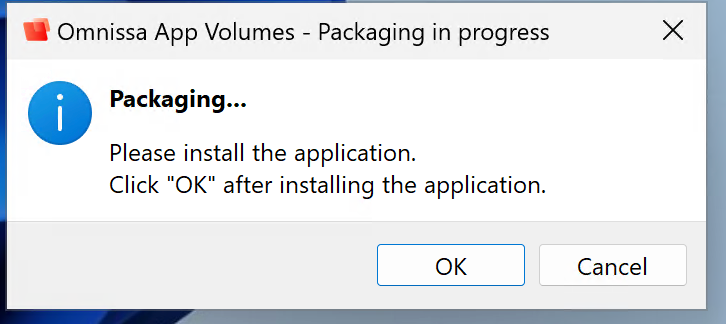
Head over to your packaging VM and you will see a box confirming that the packaging process has started. You will also notice that the previous version of the package has been attached. I have placed the new version of Notepad++ on the desktop. I double click it to begin the update process.
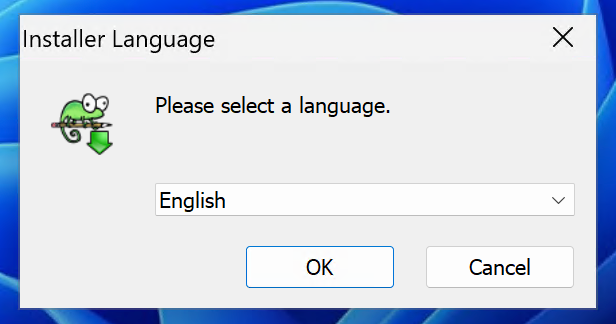
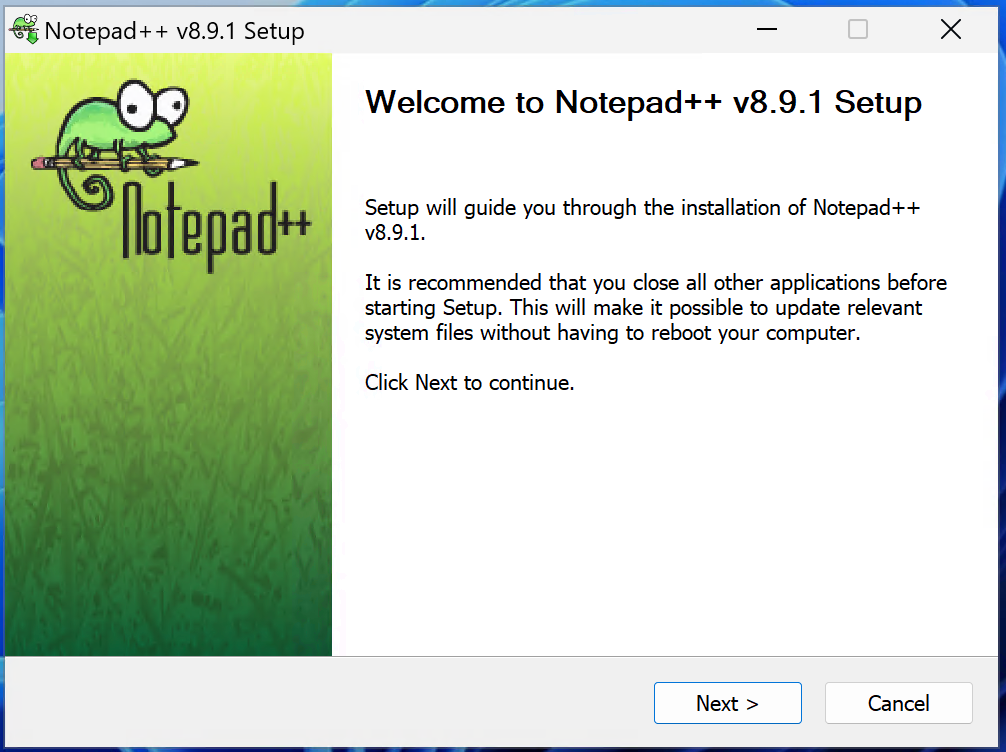
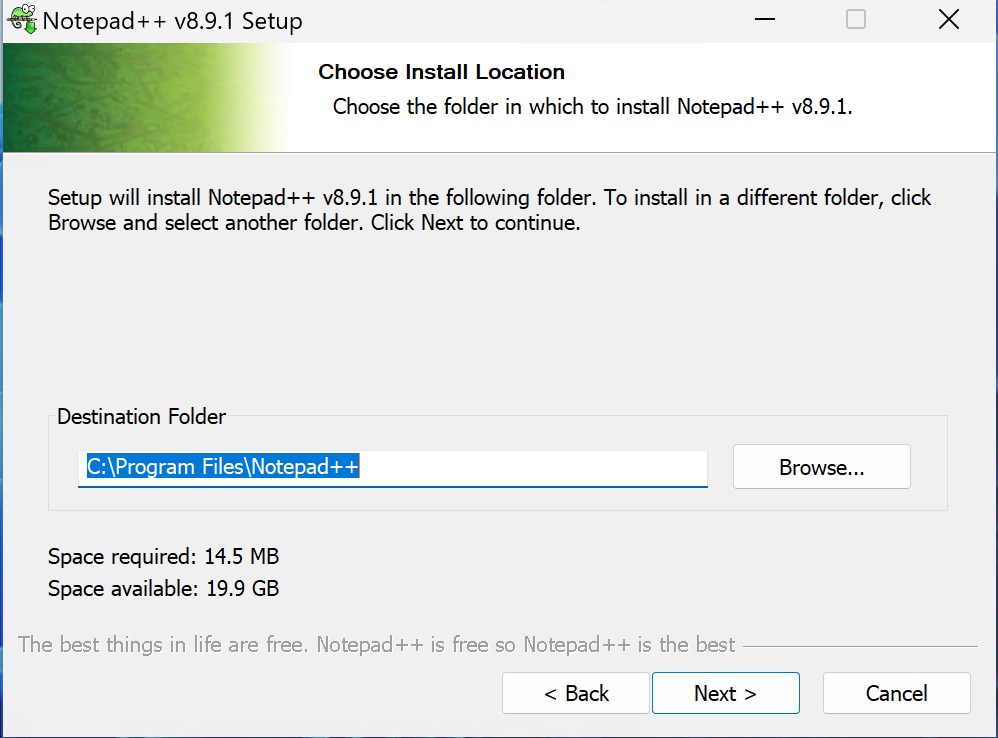
I make sure to disable any auto update functions.
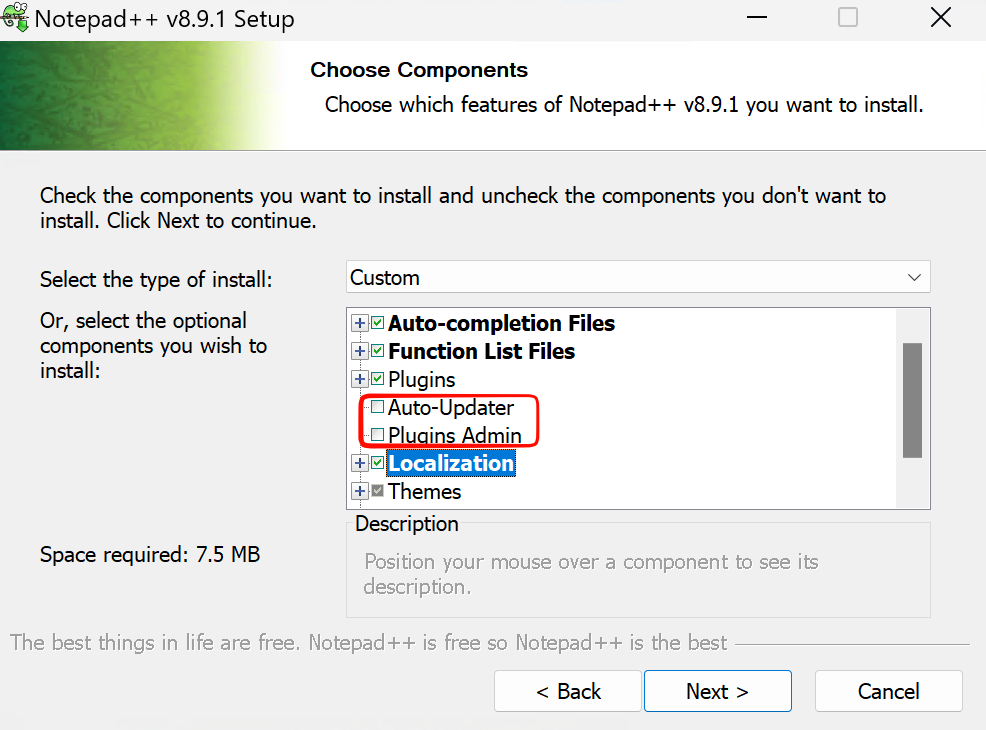
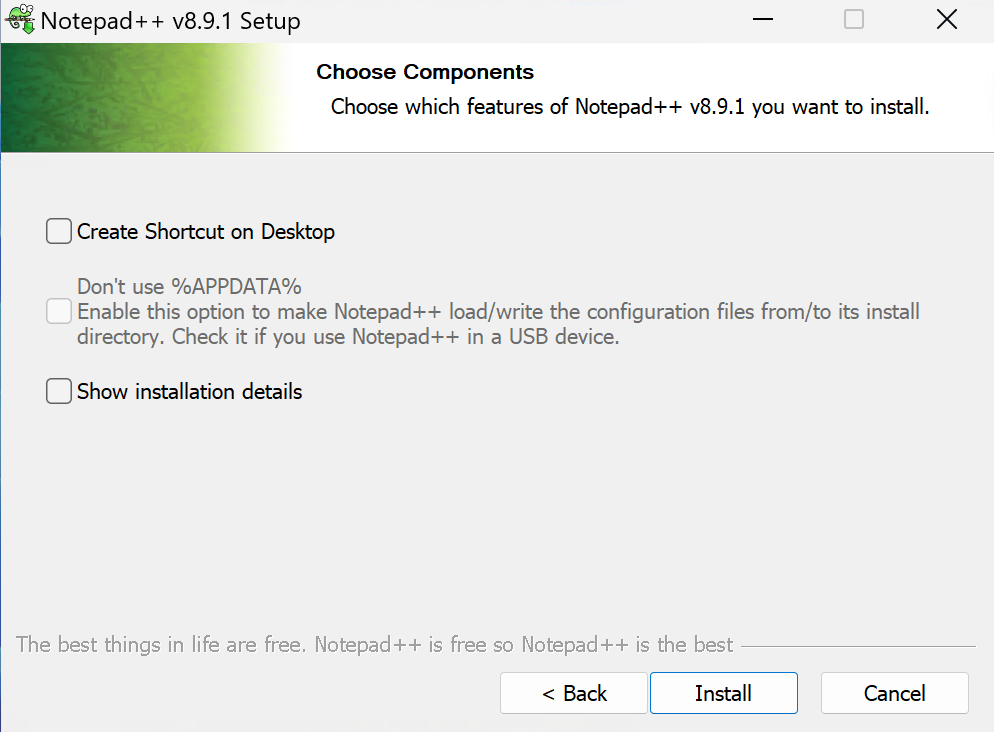
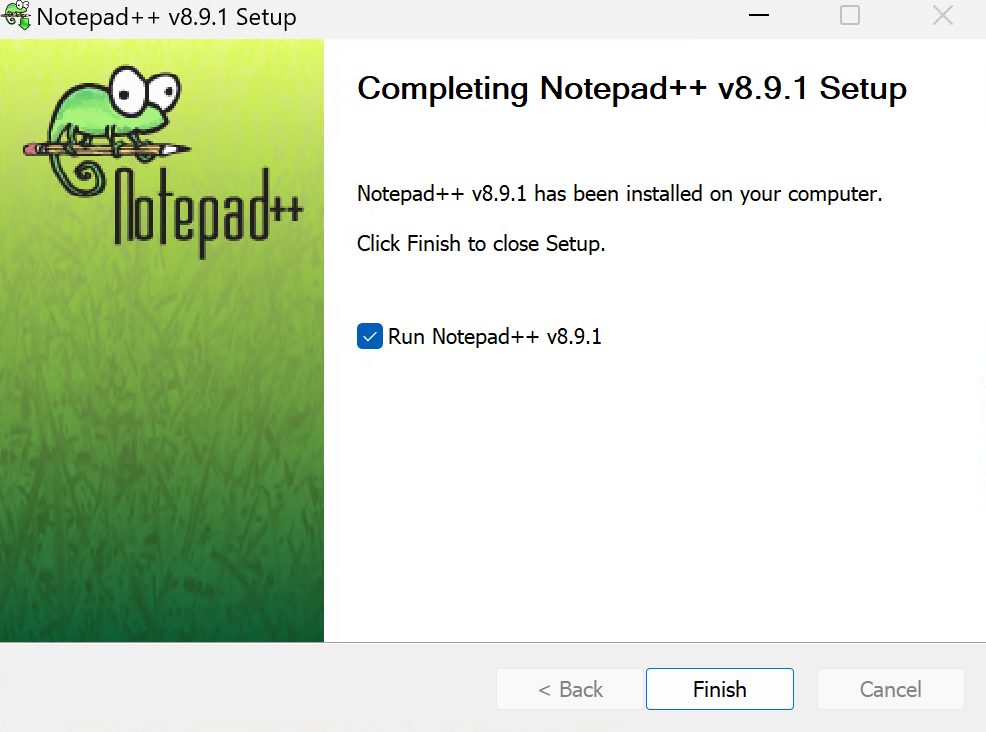
After installation is complete, I launch it to confirm everything is ok.
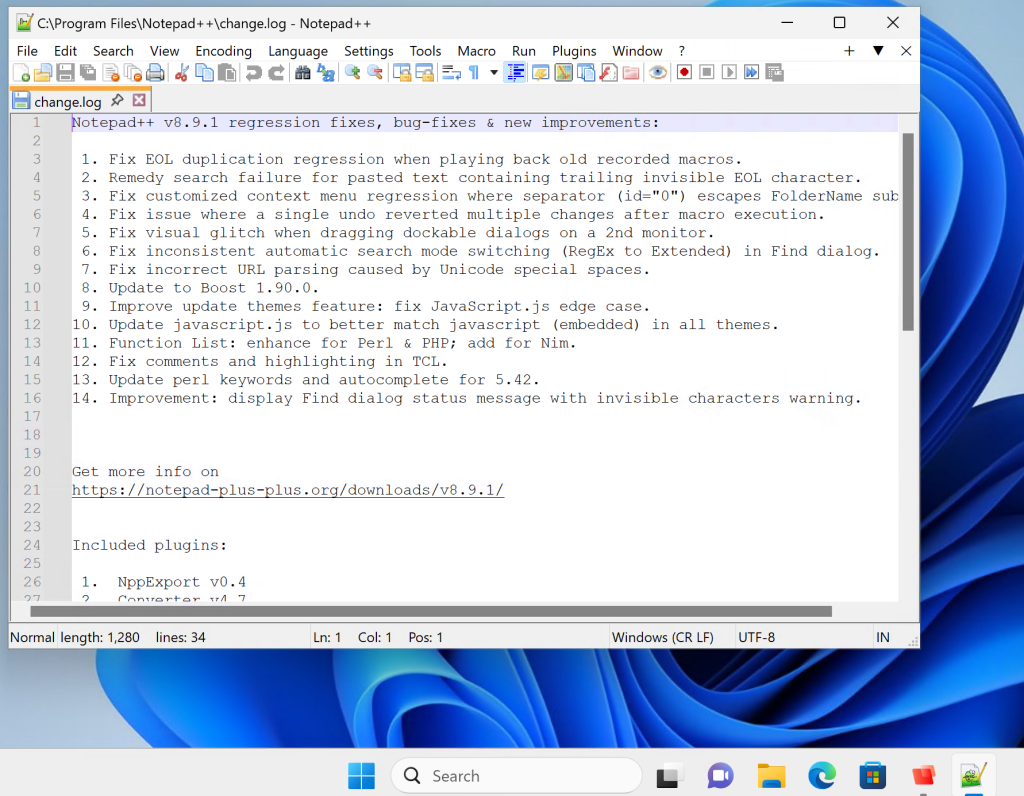
I press OK to begin completing the packaging process.
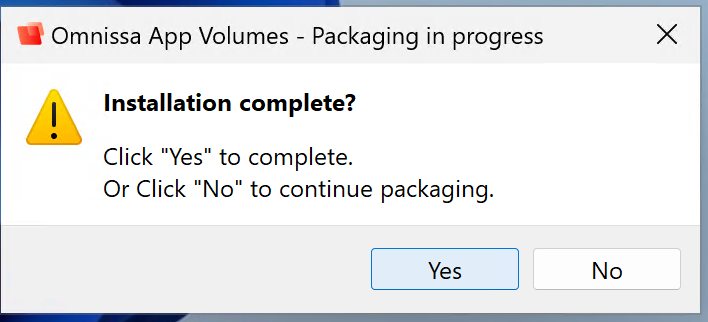
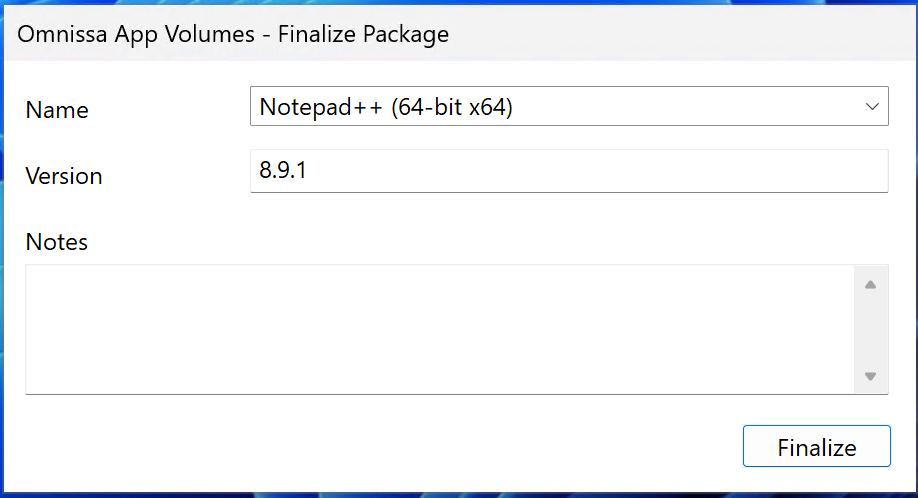
The package name and version auto populate. Press Finalize.
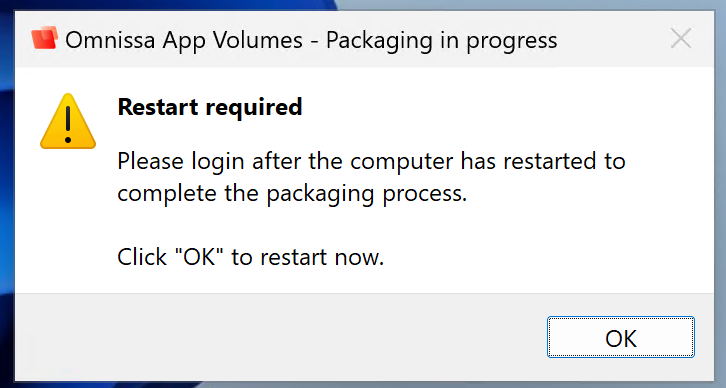
Follow the instructions to perform a reboot.,
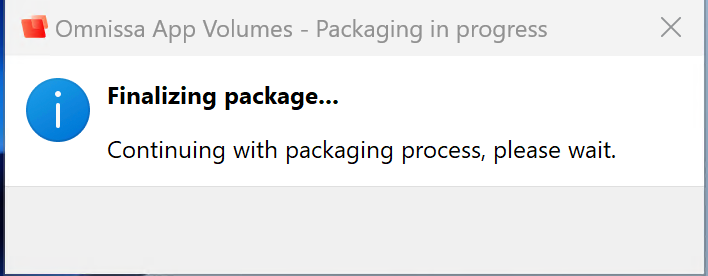
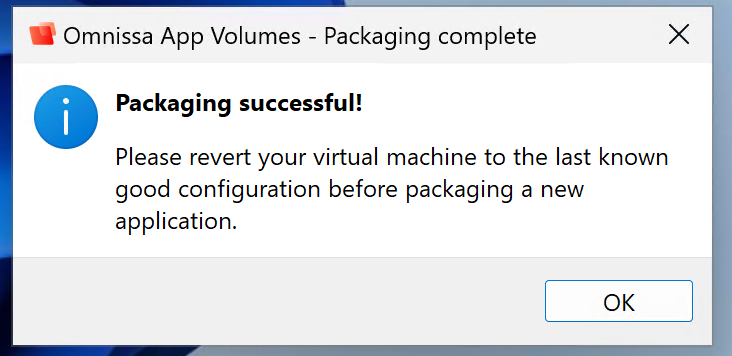
Confirm Updated Version
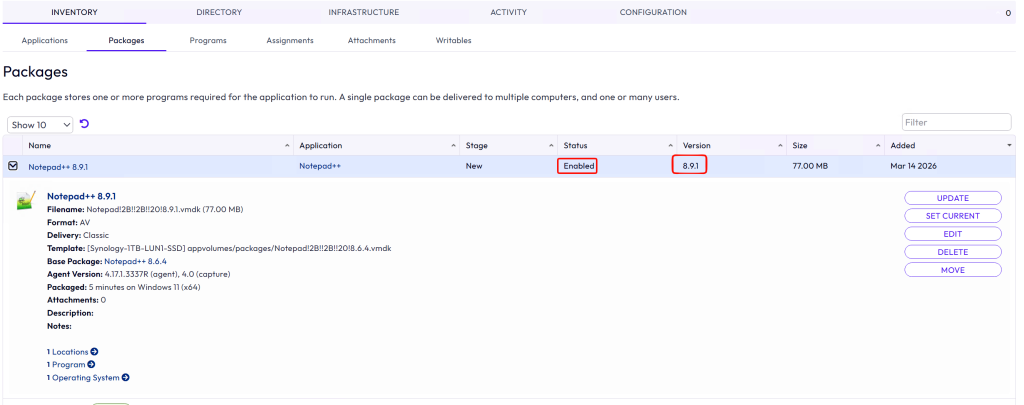
Navigate to the App Volumes manager and select the updated package. The status will now show enabled, and version number will also be updated.
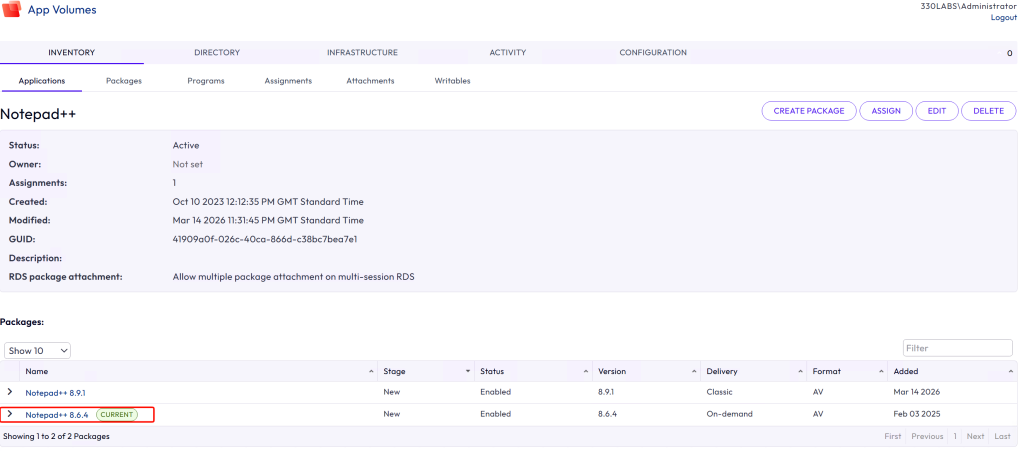
If you browse to Inventory > Applications, you will also see that Notepad++ now has to packages.
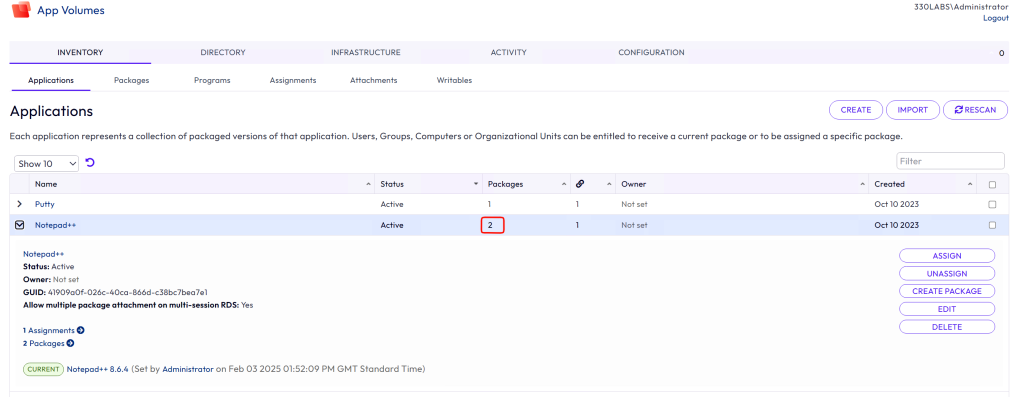
The old version is still set as Current.
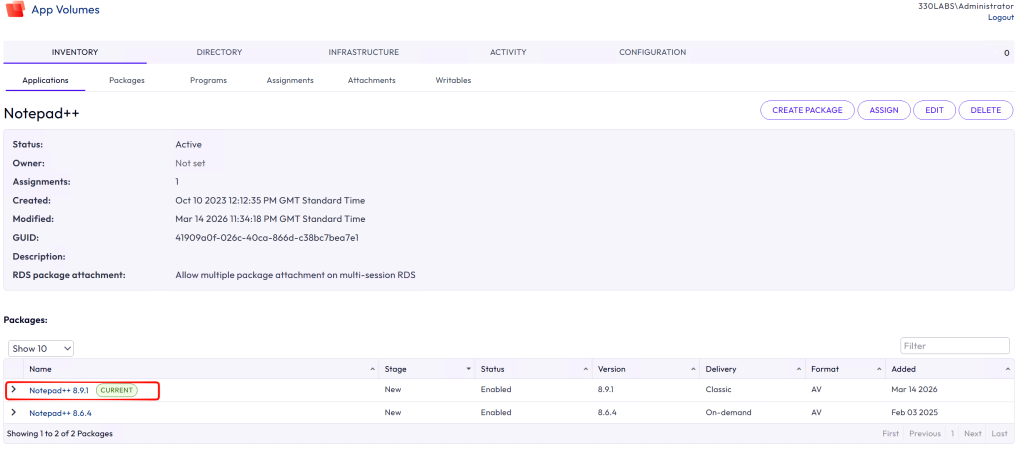
Next, navigate to the new package and press Set Current to set it as the current version in your environment.

Restore Snapshot
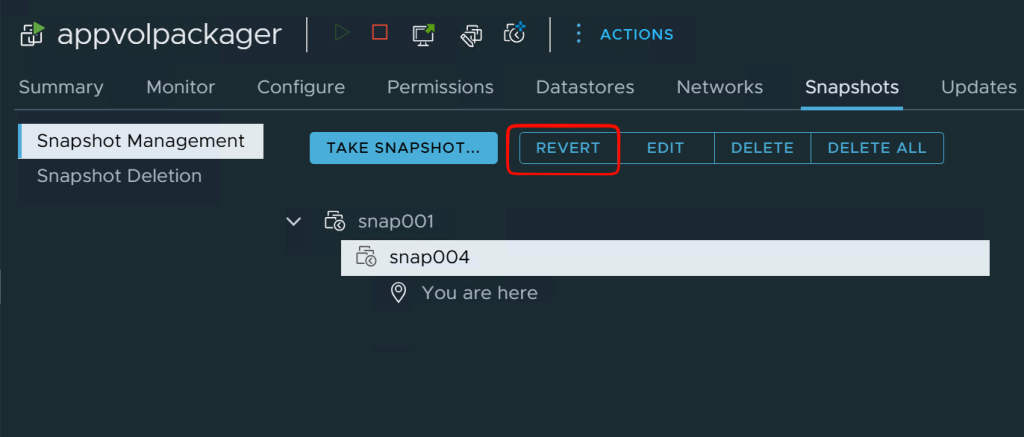
Finally, head over to vCenter and restore the packager VM to a clean snapshot.
Sources Used:
https://docs.omnissa.com/bundle/AppVolumesAdminGuideV2406/page/UpdateanAppVolumesApplication.html