
If you’ve deployed Omnissa App Volumes Manager, you’ve probably noticed it comes with a default self-signed SSL certificate. That’s fine for a quick lab setup, but in any real-world environment it quickly becomes a problem—browser security warnings, trust issues, and potential headaches when integrating with other services.
In this guide, I’ll show you how to replace the self-signed certificate with a trusted CA-signed SSL certificate. This not only removes those annoying browser warnings, but also improves security and ensures your App Volumes Manager is ready for production use.

Whether you’re running a home lab or managing an enterprise Omnissa Horizon environment, this step is a must. Follow along and you’ll have your App Volumes Manager secured with a proper SSL certificate in no time.
Request the Certificate
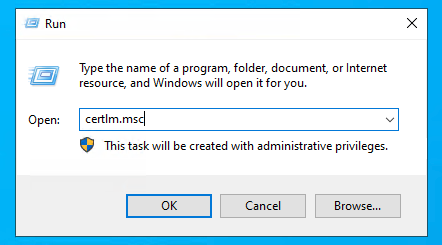
Log on to the App Volumes server and request a new certificate from the CA by launching certlm.msc
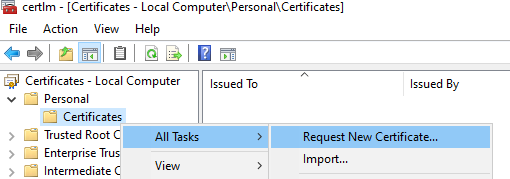
Expand Personal > Certificates
Right click Certificates > All Tasks > Request New Certificate
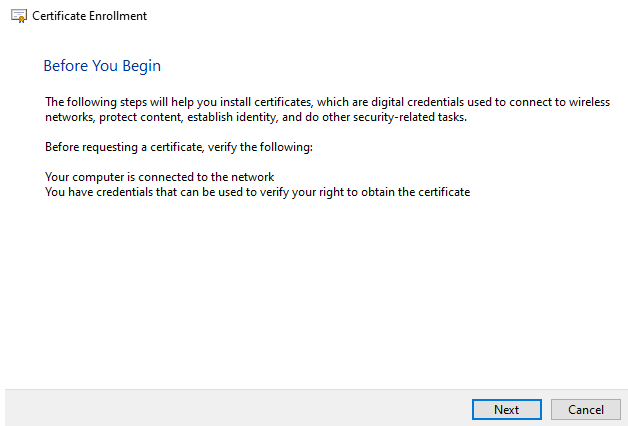
The wizard launches, click Next
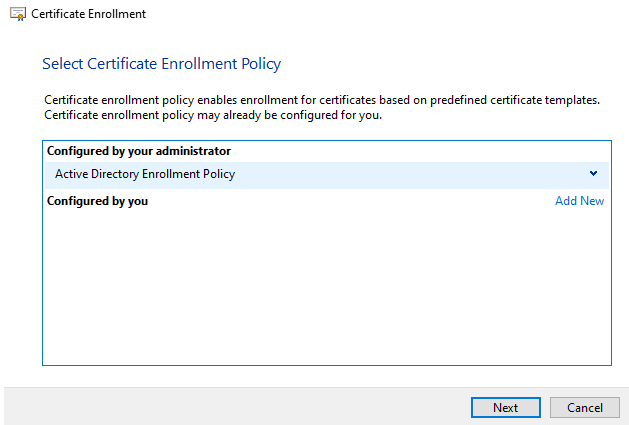
I have a CA in my domain, so therefore I choose Active Directory Enrollment Policy and click Next
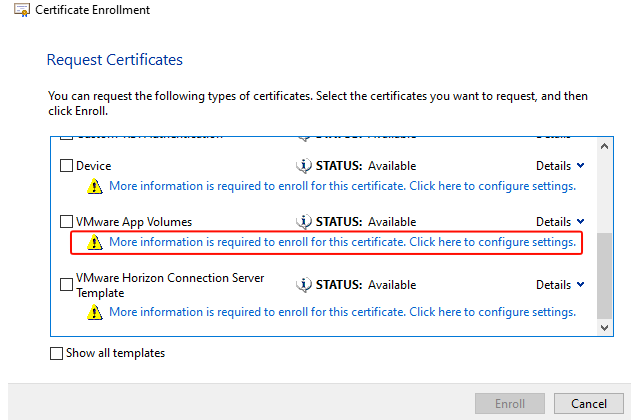
I have an App Volumes certificate template which I created earlier. I click the blue text underneath it
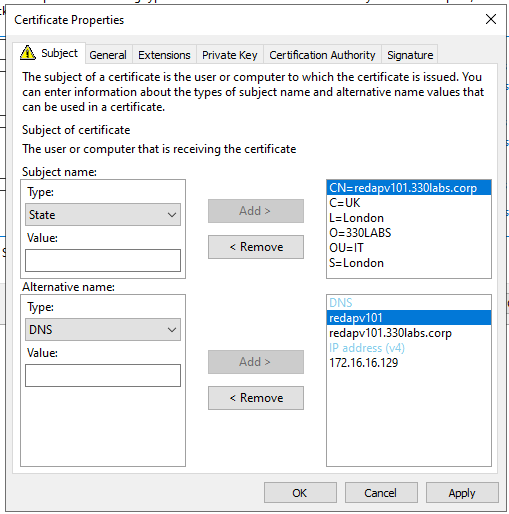
Next, populate the fields with the below information
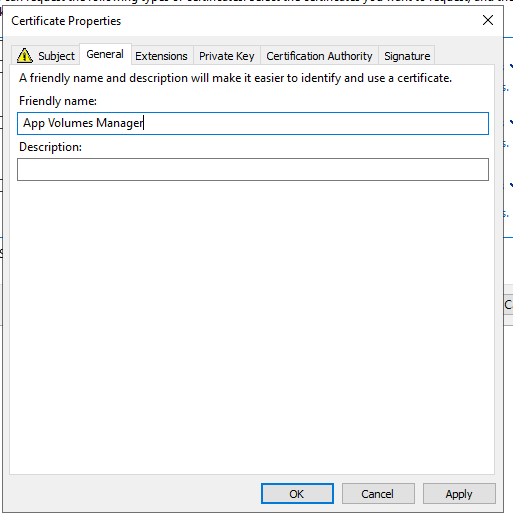
Then, select the General tab and give it a relevant friendly name
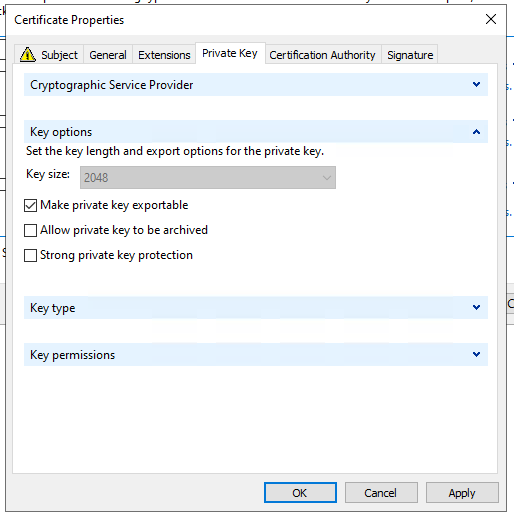
Finally, select the Private Key tab and ensure the below is selected then press OK
Ensure the tick box is selected against the certificate template and press Enroll.
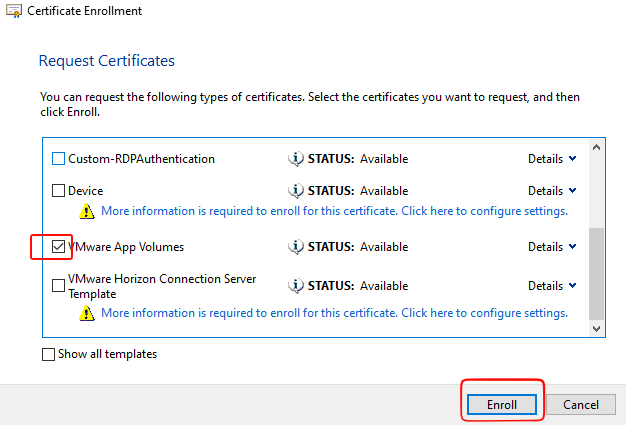
You are presented with a confirmation message if enrolment is successful
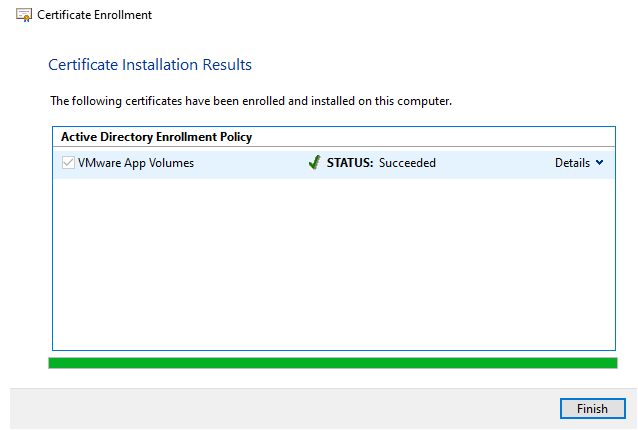
Back in certificates snap-in, you can now see the certificate was installed successfully

Export the Certificate
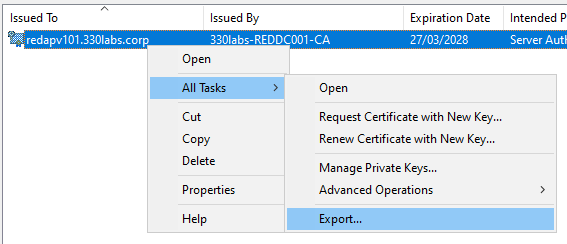
In certificates snap-in, right click the certificate and select All Tasks > Export
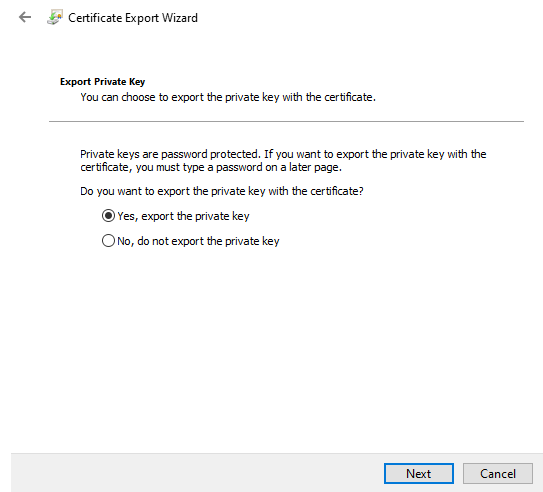
Select Yes, export the private key and press Next
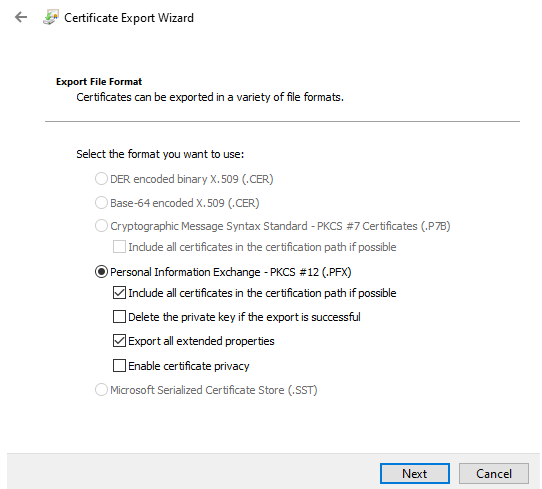
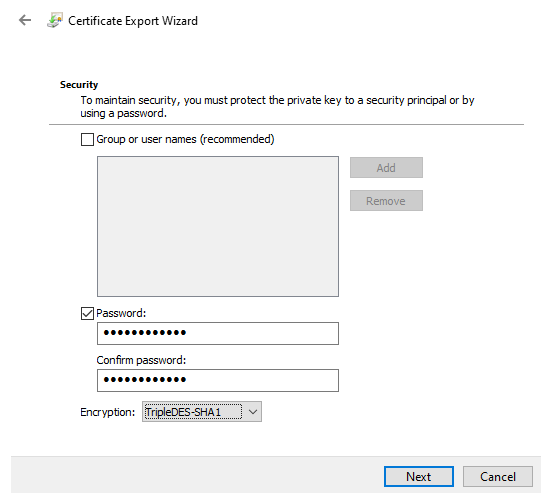
Provide a password and press Next
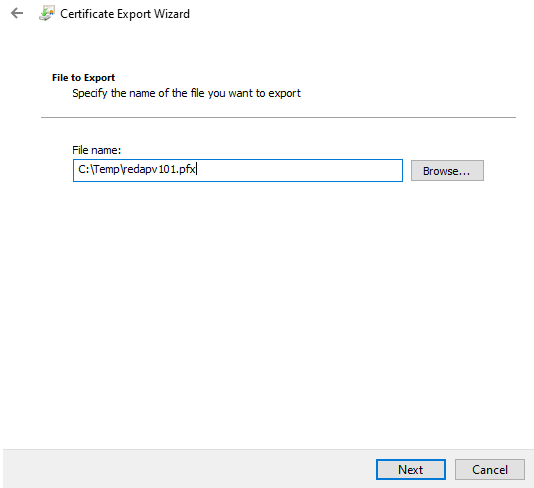
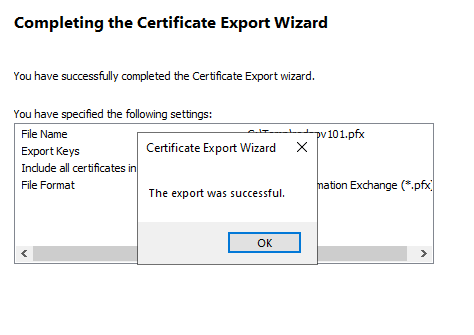
Specify a location and filename and press Next
Extract Certificate and Private Key and Convert to PEM Format
The following steps require OpenSSL to be installed. I have it installed on my jump server. Therefore I have moved the above exported certificate to my jump server to perform the following steps.
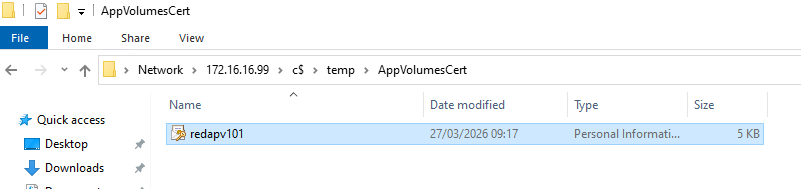
Open an administrative command prompt and run the following commands:
openssl pkcs12 –in .\redapv101.pfx –nocerts –out .\redapv101.key

openssl rsa –in .\redapv101.key -outform PEM –out .\redapv101-PEM.key

openssl pkcs12 –in .\redapv101.pfx –clcerts –nokeys –out .\redapv101.crt
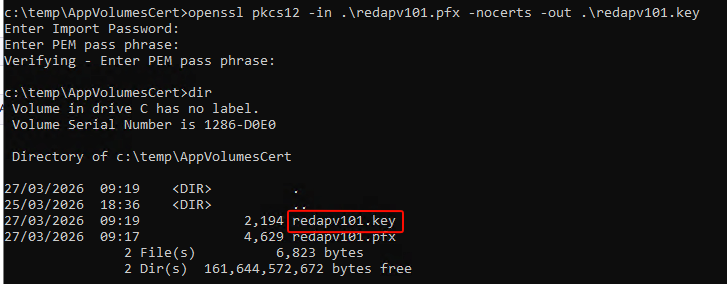
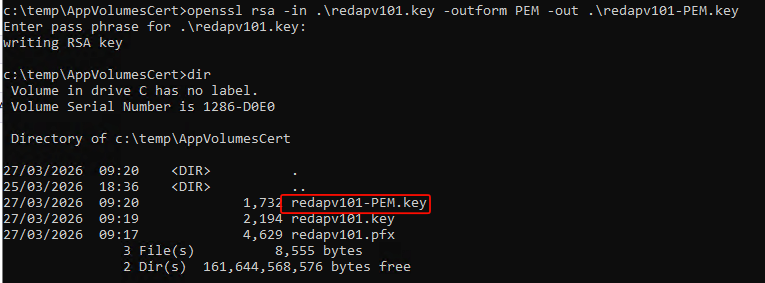
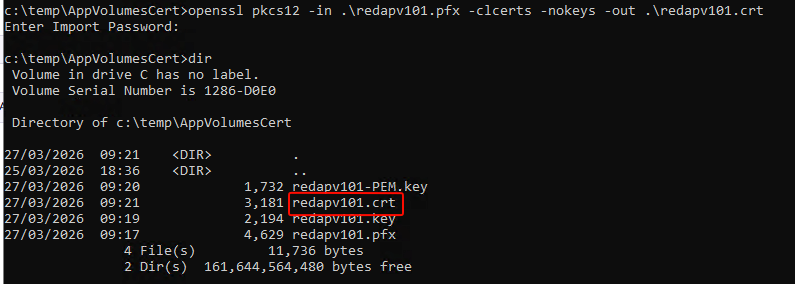
This will leave you with the following files:
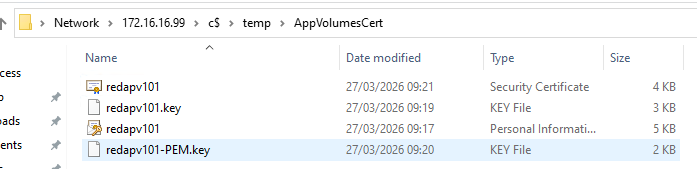
Configure NGINX to Use the Cert and PEM Files
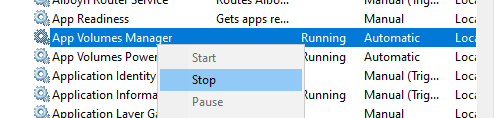
On the App Volumes manager, stop the App Volumes Manager service
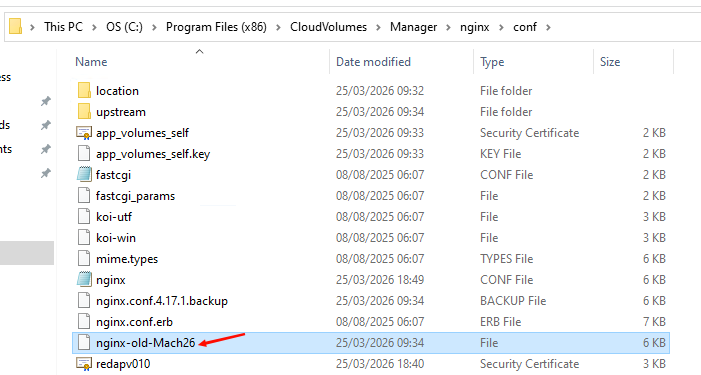
Next open an explorer window and browse to the App Volumes / NGINX config directory. Make a backup of the nginx.conf file
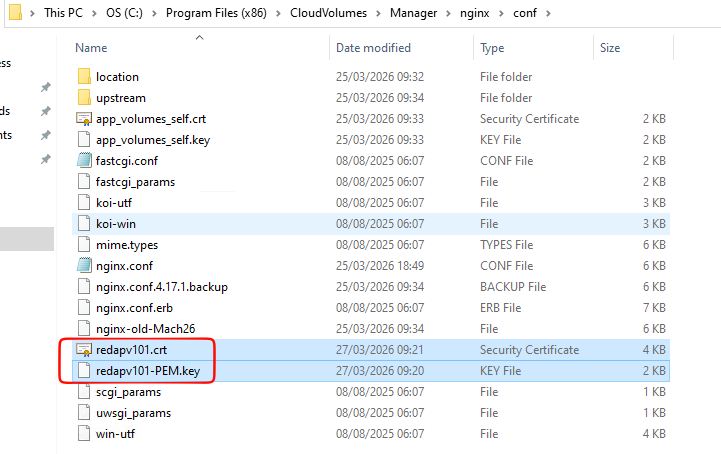
Copy the .crt and -PEM.key files generated earlier and place them in this directory.
Open nginx.conf file in notepad.
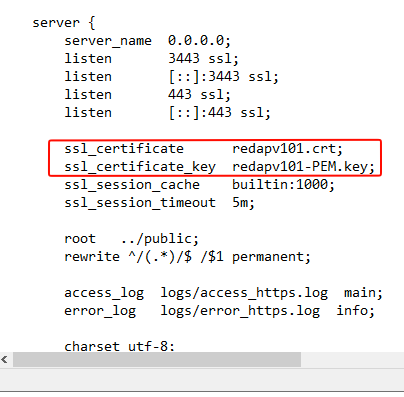
Find the lines which say ssl_certificate and ssl_certificate_key and update them so they reflect the names of the files you just copied. Save and close the file
Start App Volumes Service
Finally you are now ready to start the App Volumes service.

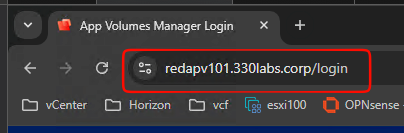
Once started, you can browse to the App Volumes admin interface and confirm you no longer receive any certificate warnings or errors.
Conclusion
That’s it—you should now have your Omnissa App Volumes Manager running with a trusted CA-signed SSL certificate, eliminating browser warnings and giving your setup a more production-ready feel.
In my case, this was done in a lab environment, which gives a bit more flexibility to test, tweak, and even break things along the way. If you’re planning to apply these steps in a production environment, make sure you proceed with caution. Always follow your organisation’s change control processes, take proper backups, and, if possible, test the process in a staging environment first.
Hopefully this guide has helped simplify the process and saved you some time. As always, feel free to adapt the steps to suit your own setup—and happy tinkering!
Sources Used: