
Download GParted ISO
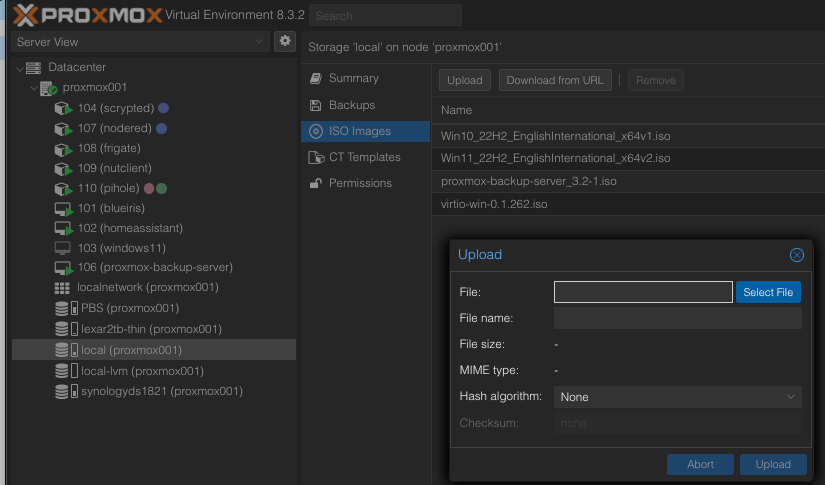
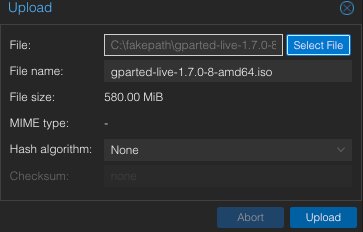
Upload to a Proxmox datastore where you store your ISO’s
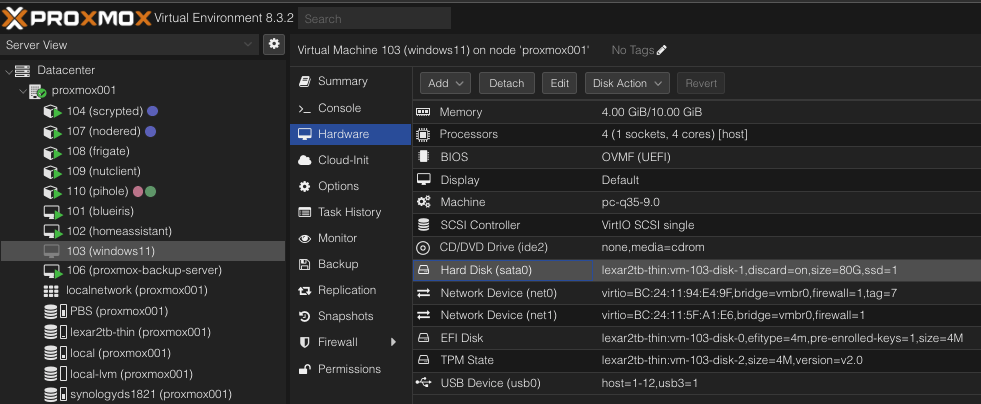
On Proxmox, select your VM in the left hand pane. In the right hand pane, navigate to Hardware > Hard Disk
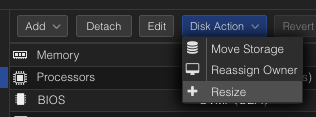
Select Disk Action > Resize
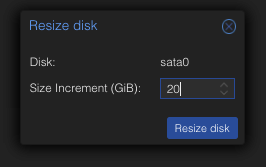
I’m choosing to add 20GB, so I enter 20 and press Resize Disk
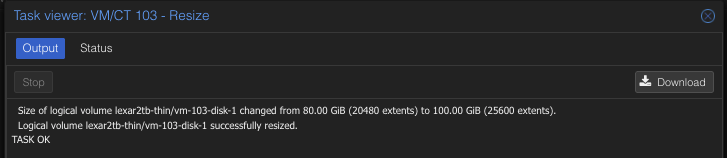
Check the Tasks console for confirmation that the disk resize was successful
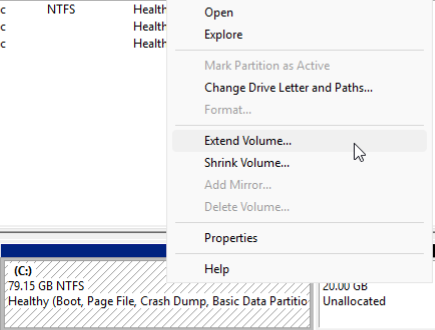
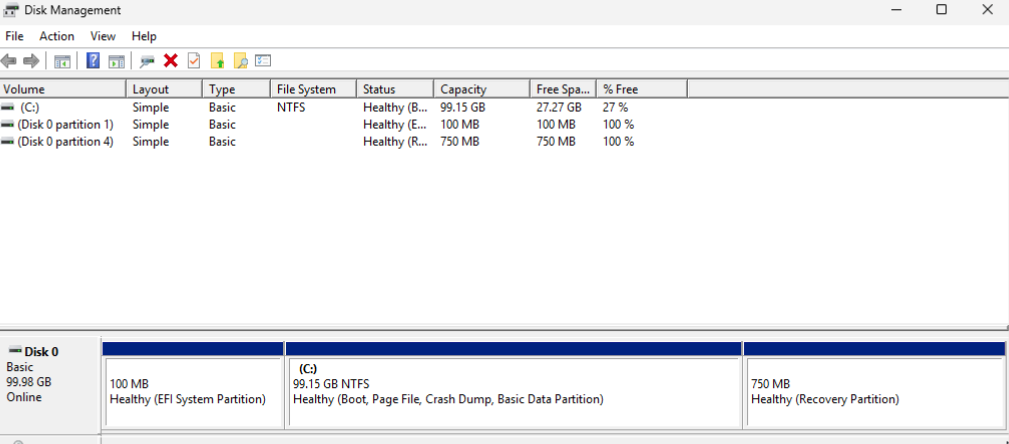
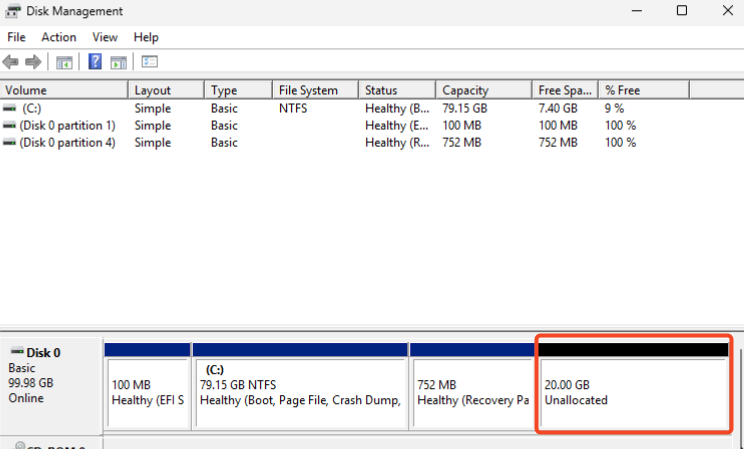
This adds a 20G partition to the end of the disk, as can be seen in Disk Management
Power off the Windows VM
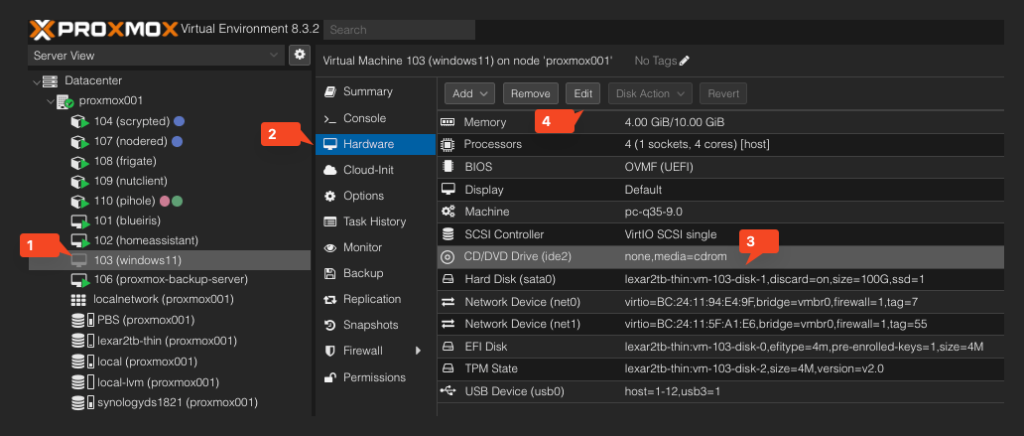
In Proxmox, attach the GParted ISO to your VM’s CD drive by selecting ‘Hardware’ > CD/DVD Drive then selecting Edit
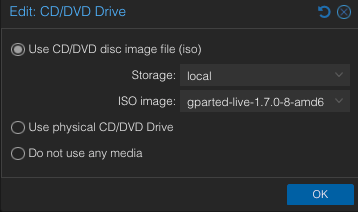
Select the datastore where you uploaded GParted, and select the GParted ISO
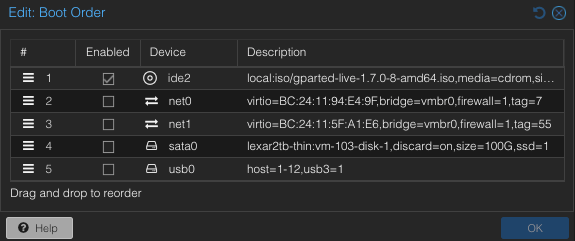
Untick everything except the GParted ISO
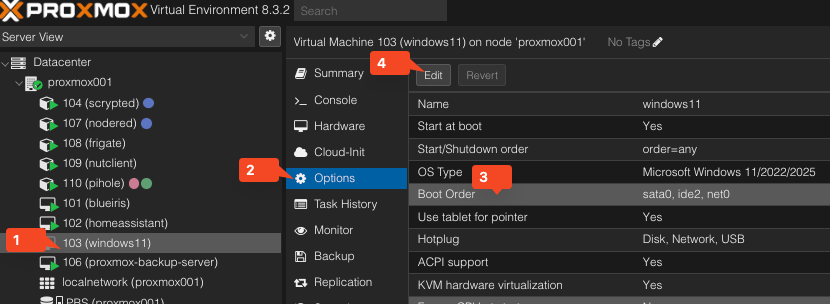
Start the VM and you will see the VM beginning to boot from the GParted ISO
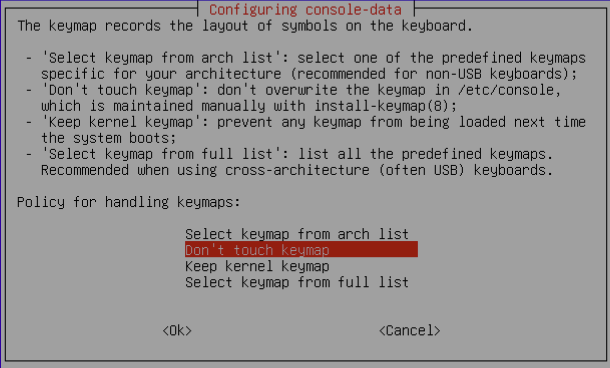

GParted will now launch and scan your drives
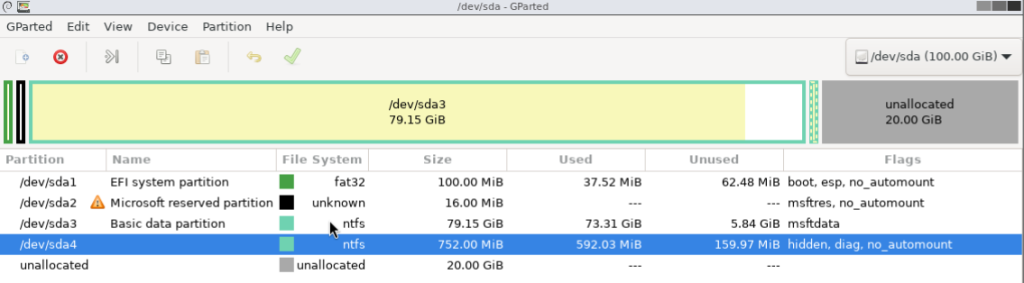
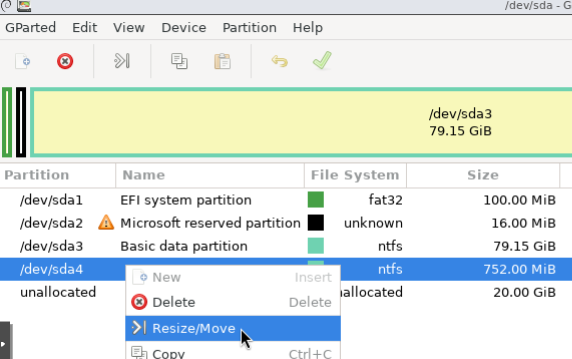
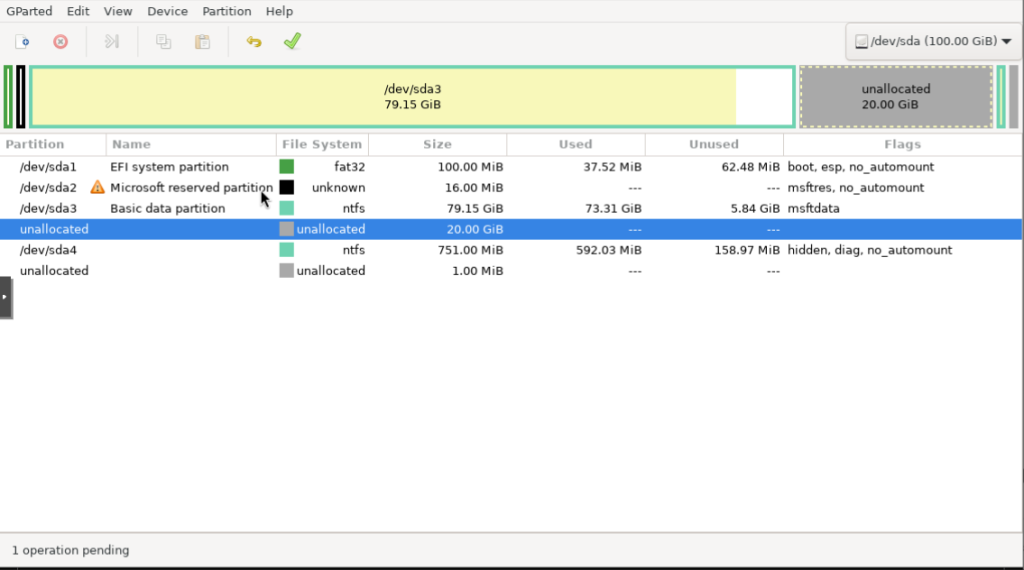
Here we can see the main Windows partition on (80GB) listed as /dev/sda3.
The newly created partition is on the right, titled unallocated (20GB)
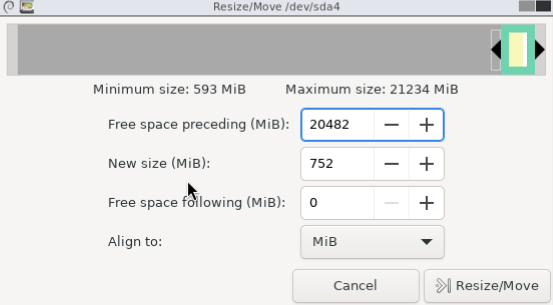
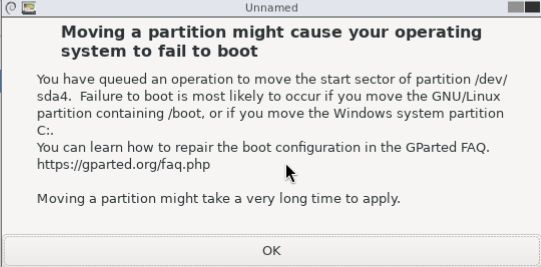
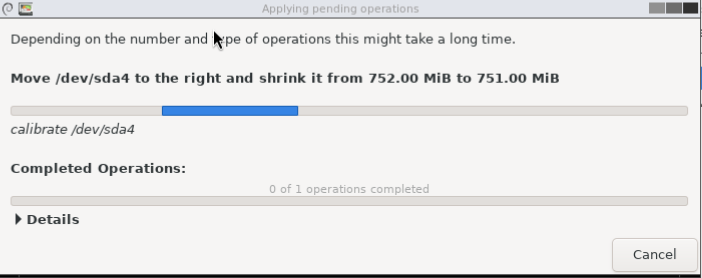
There is a recovery partition (dev/sda4) in between the above two partitions which we need to move before we can extend /dev/sda3
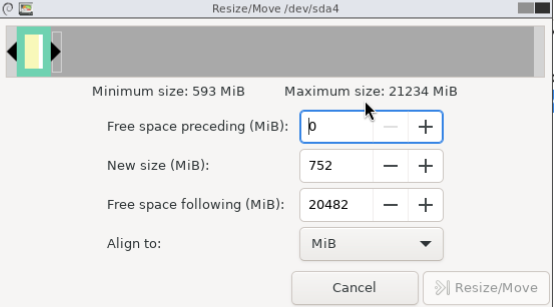
Right click /dev/sda4 and select Resize/Move