



There are plenty of guides covering the manual process of creating a Linux based golden image for Horizon VDI however Omnissa ships an Easy Setup tool that handles most of the heavy lifting for you. In this post I’m going to focus specifically on using it to create an Ubuntu 22.04 Linux instant clone machine which will skip most of the the manual approach entirely.
I’ll assume you’ve already got a working Horizon environment up and running.
First, log on to vCenter and begin the process of creating a new virtual machine.
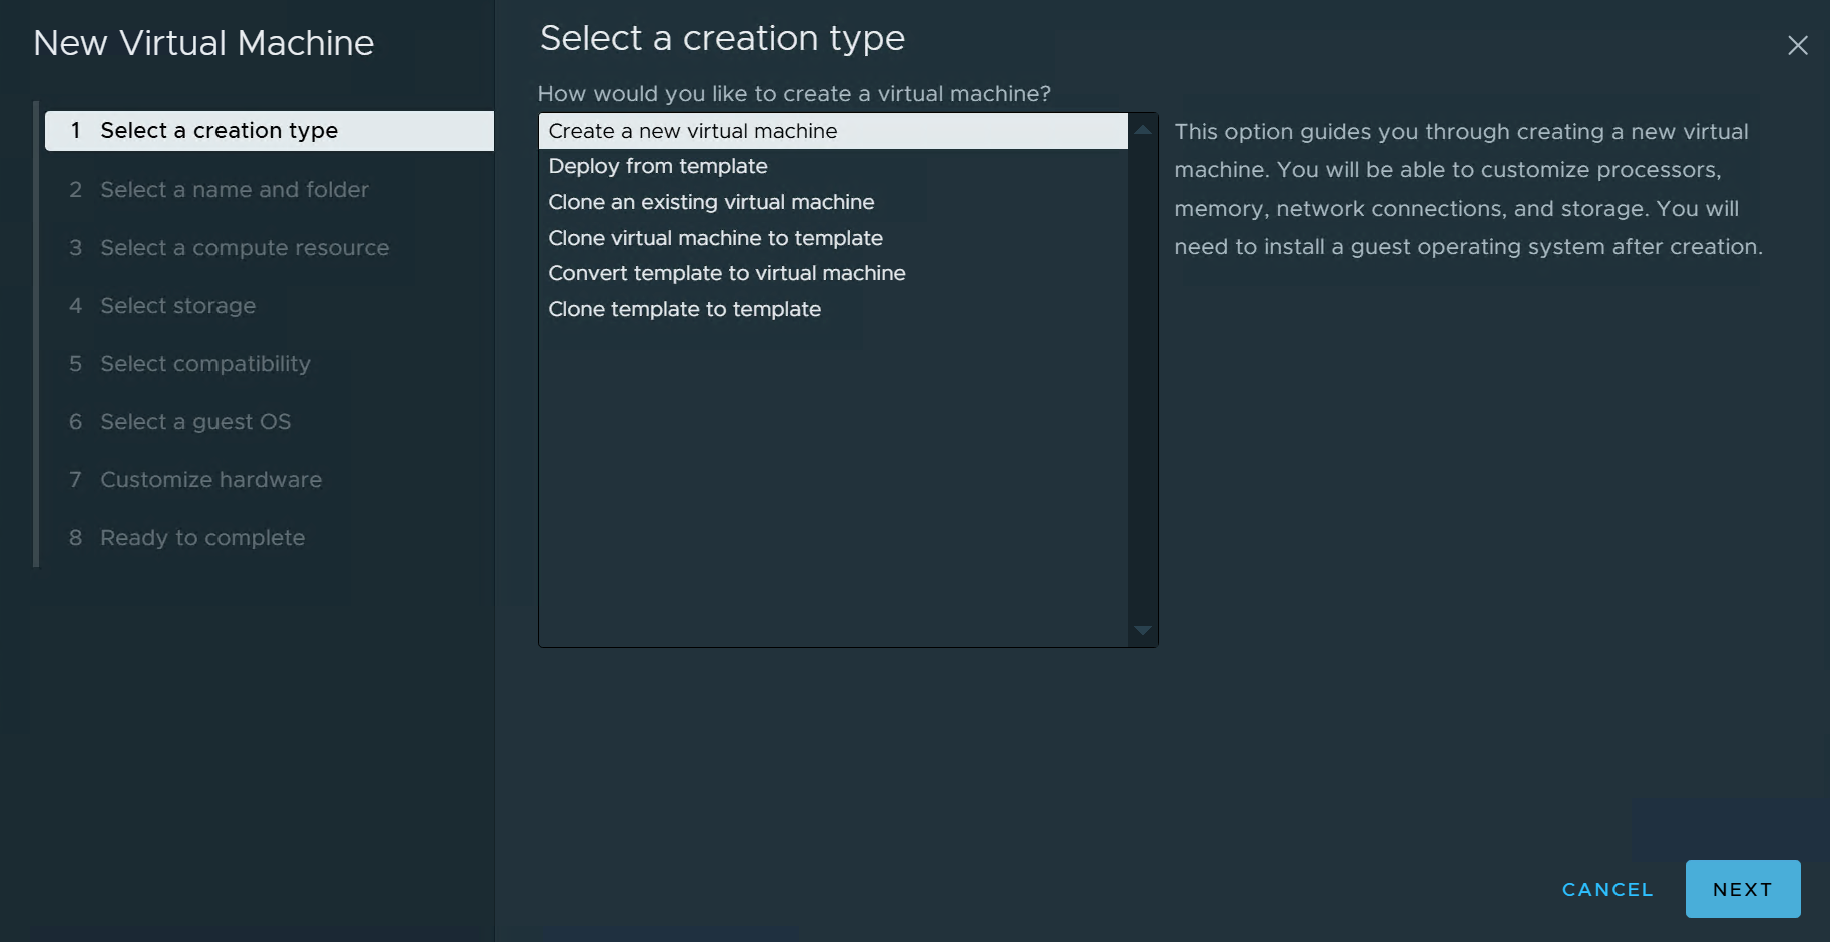
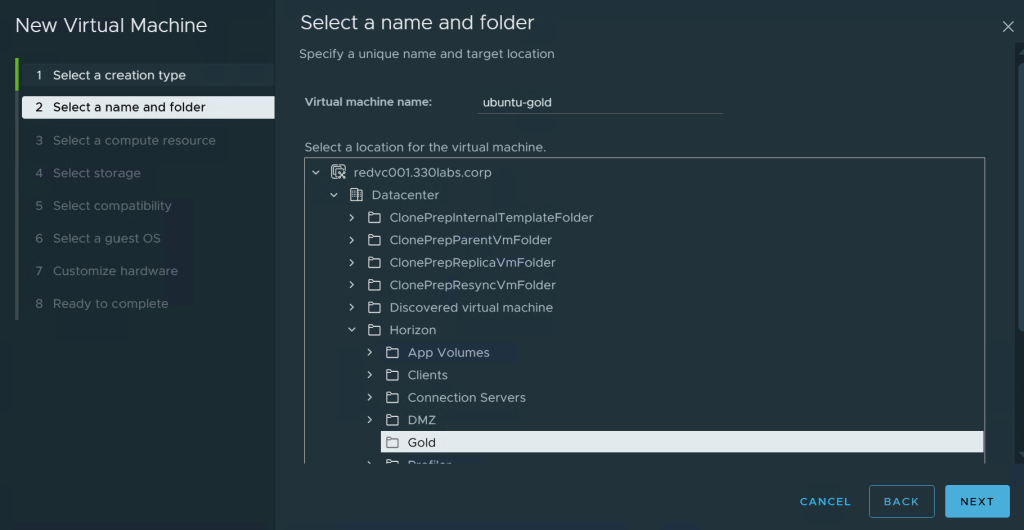
Next, select which folder the golden image will be created in.
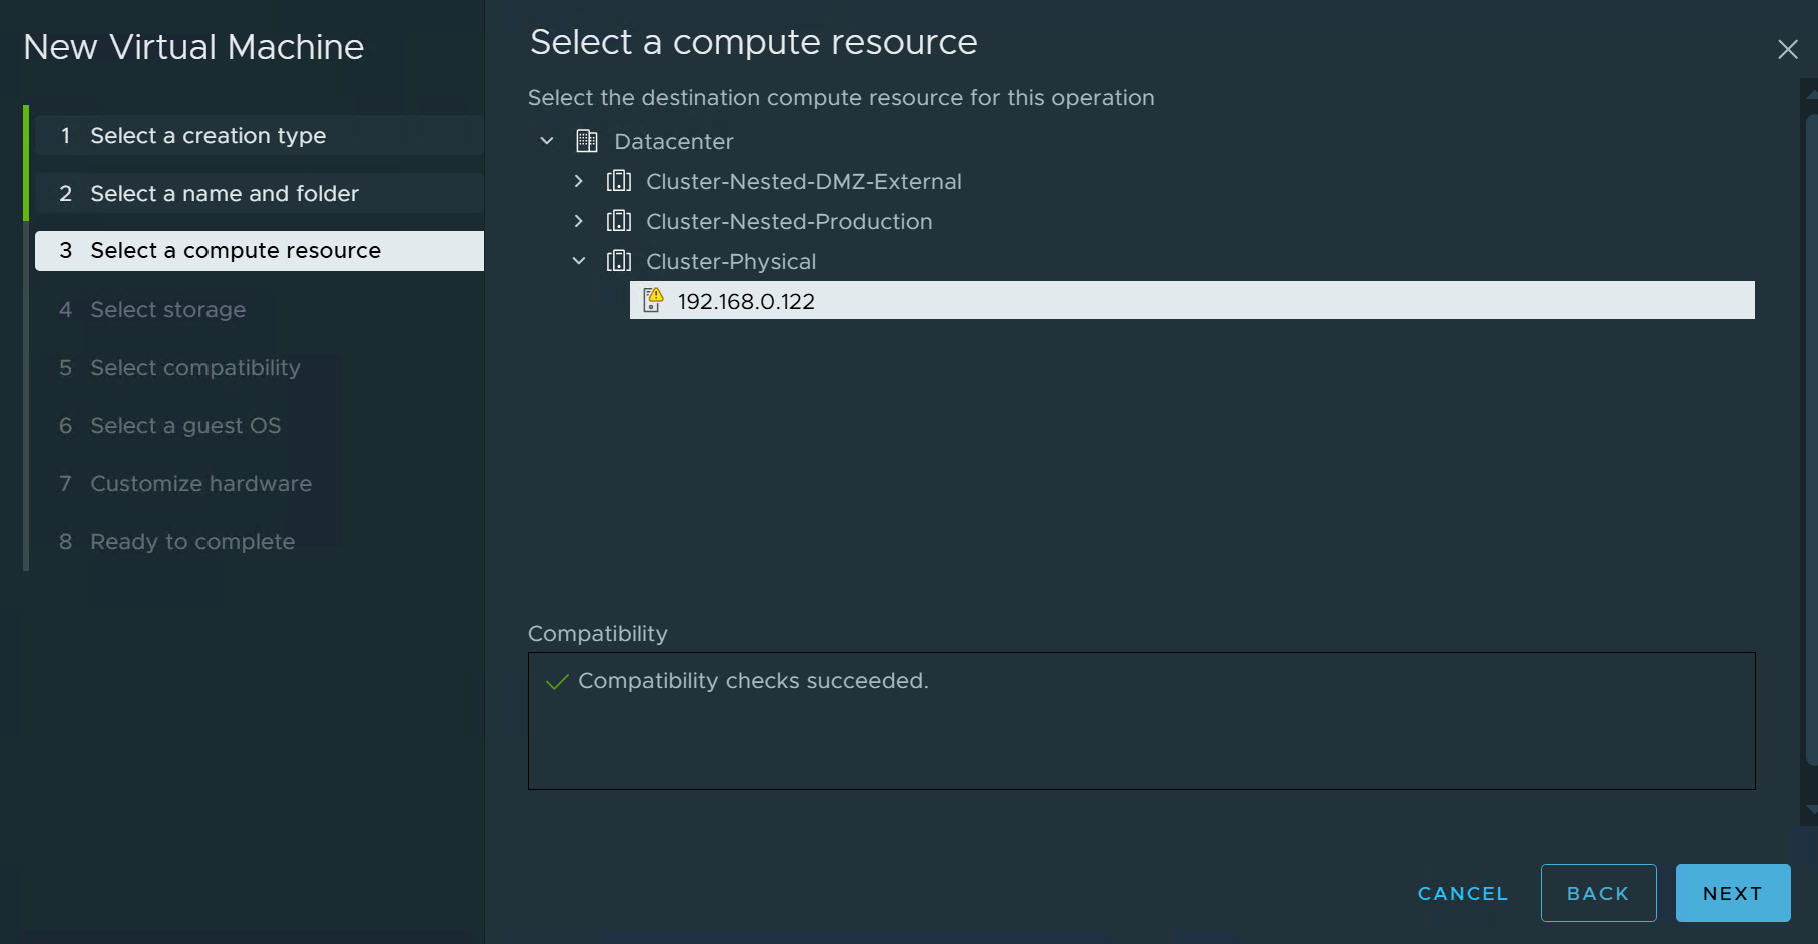
Then select which host to place the VM on. I select the only physical ESXi host I have in my lab.
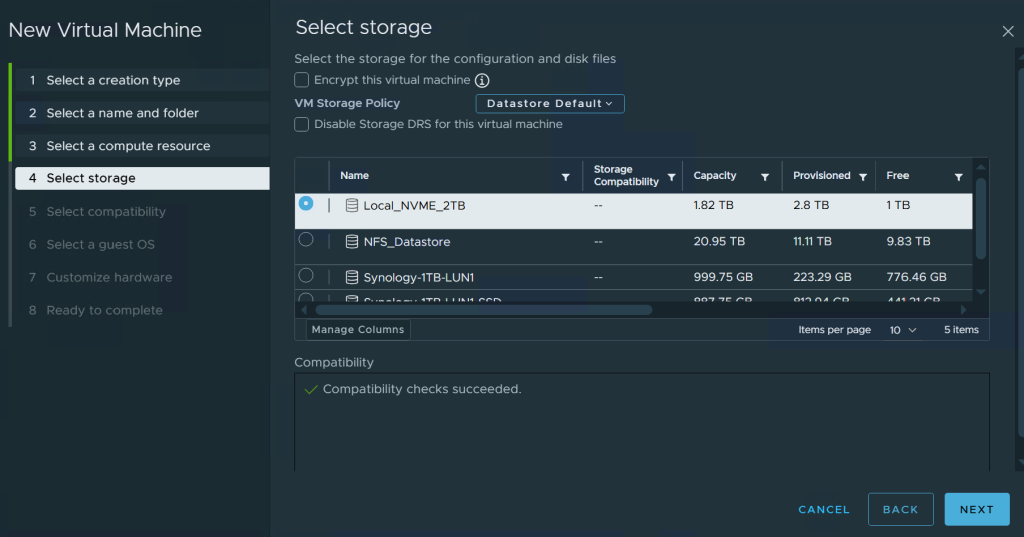
I have multiple datastores available and for this VM, I select the locally attached NVME as it provides me the greatest performance.
For compatibility, select ESXi 8.0 U2 and later
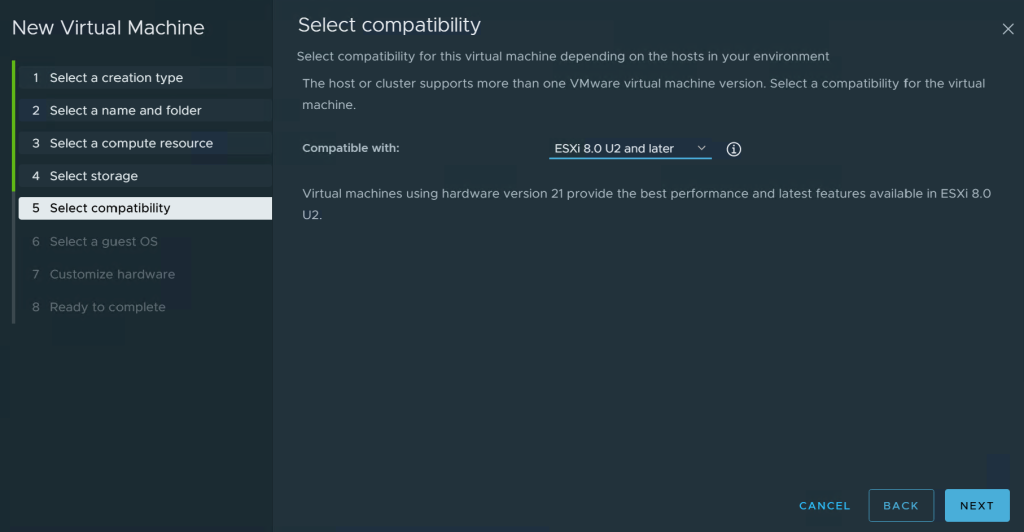
For guest OS, select Ubuntu Linux (64-bit)
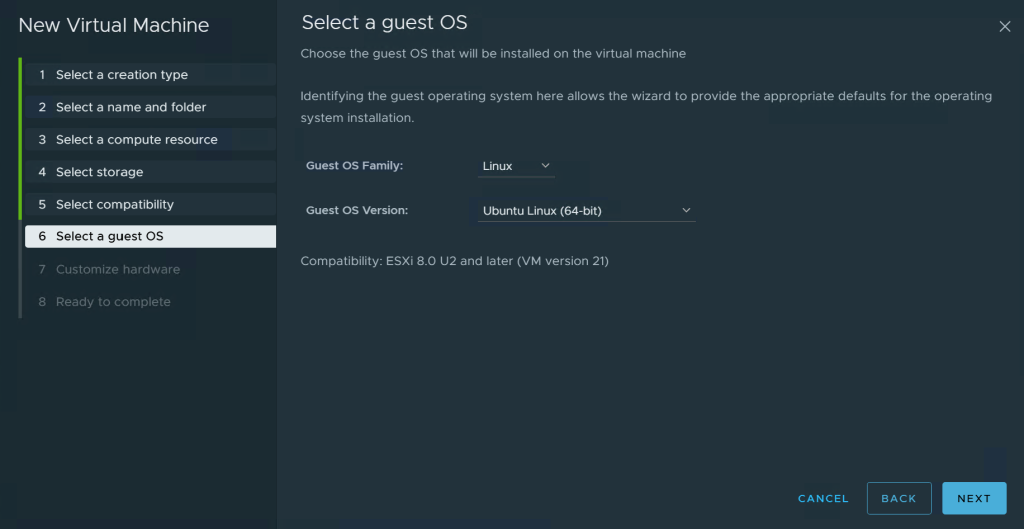
Under VM options, navigate to Boot Options and change Firmware to BIOS, and ensure Force BIOS setup is selected. This will let us boot into the BIOS to change some options. Also ensure your Ubuntu ISO is attached to your CD/DVD drive.
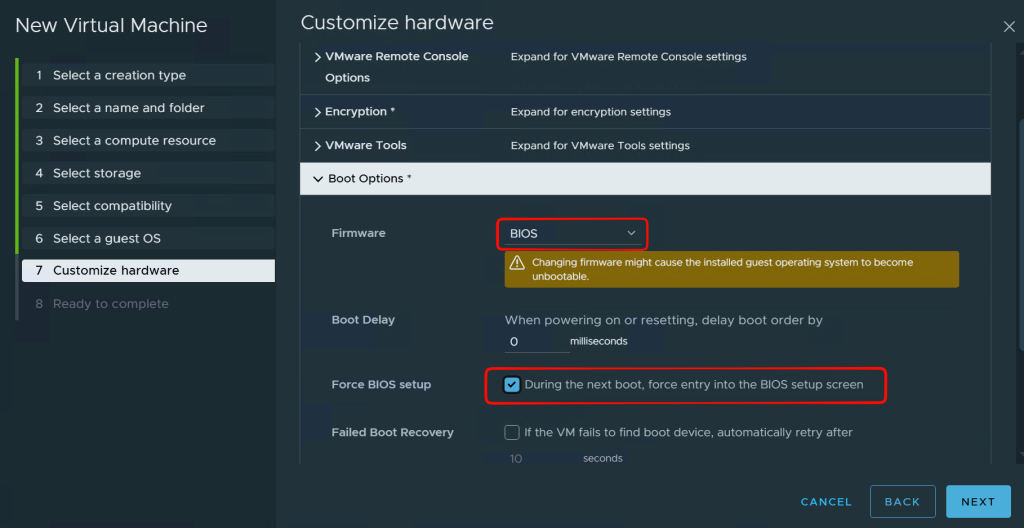
Press Finish and power up the VM
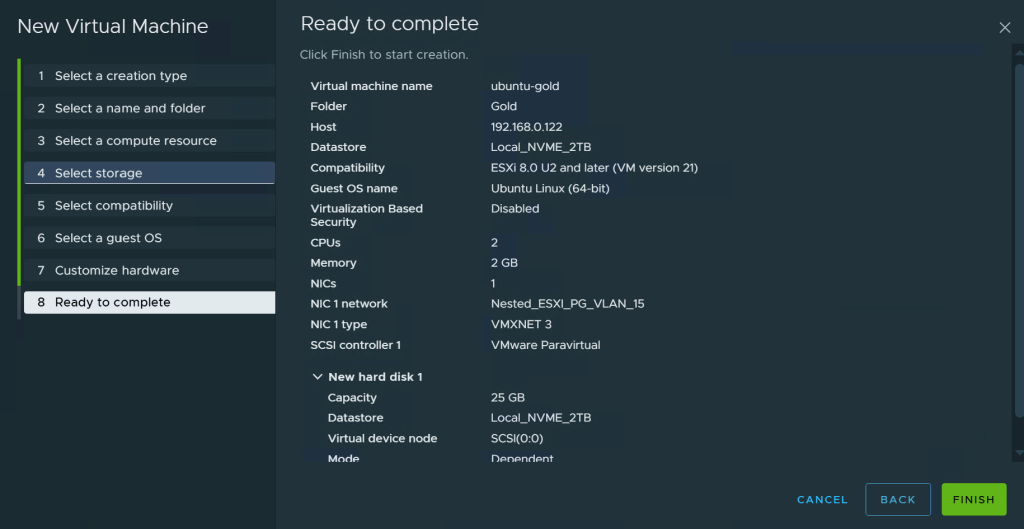
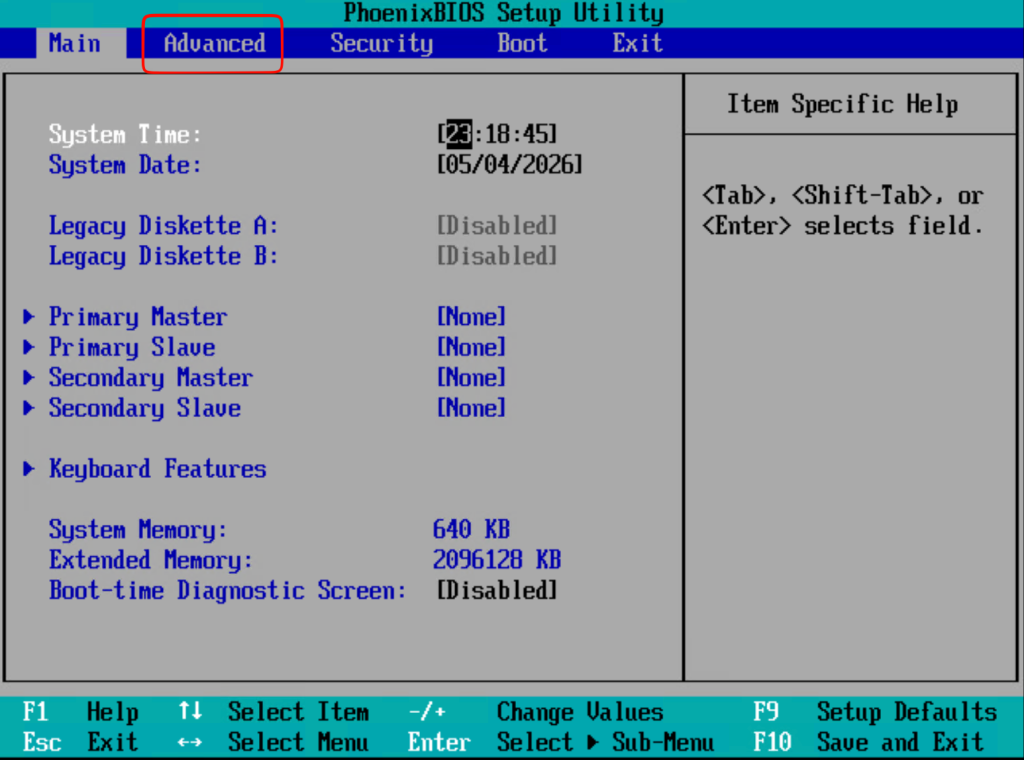
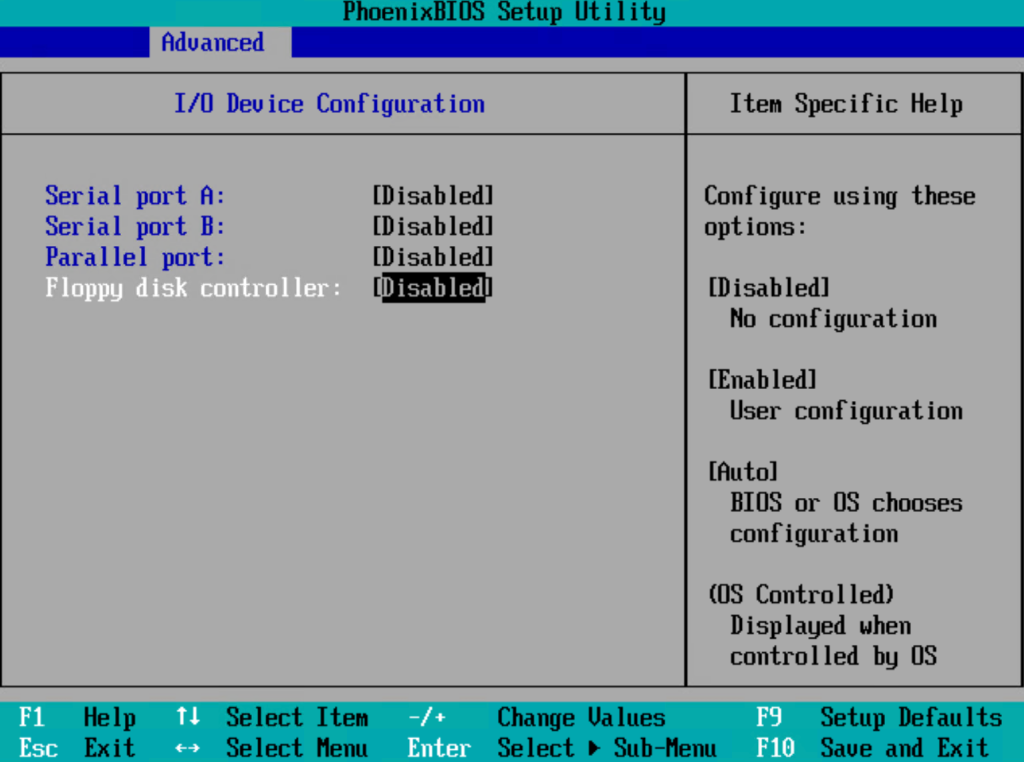
In the BIOS, browse to Advanced > I/O Device Configuration
I disable everything under there as it’s not required for my use case
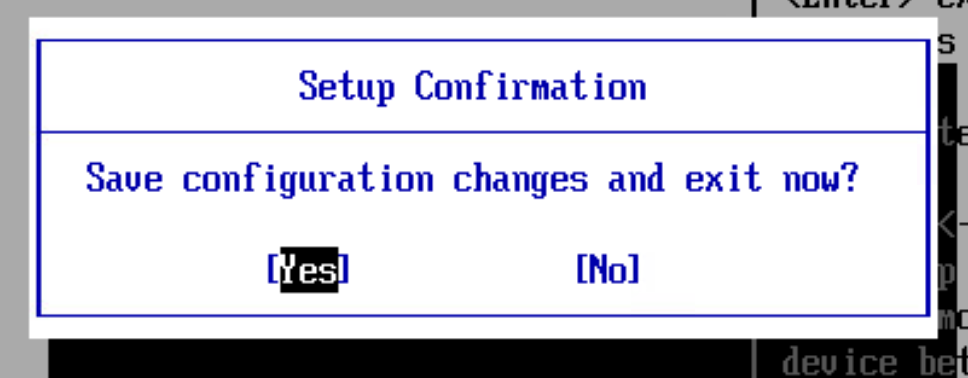
Save your changes and then power off the VM.
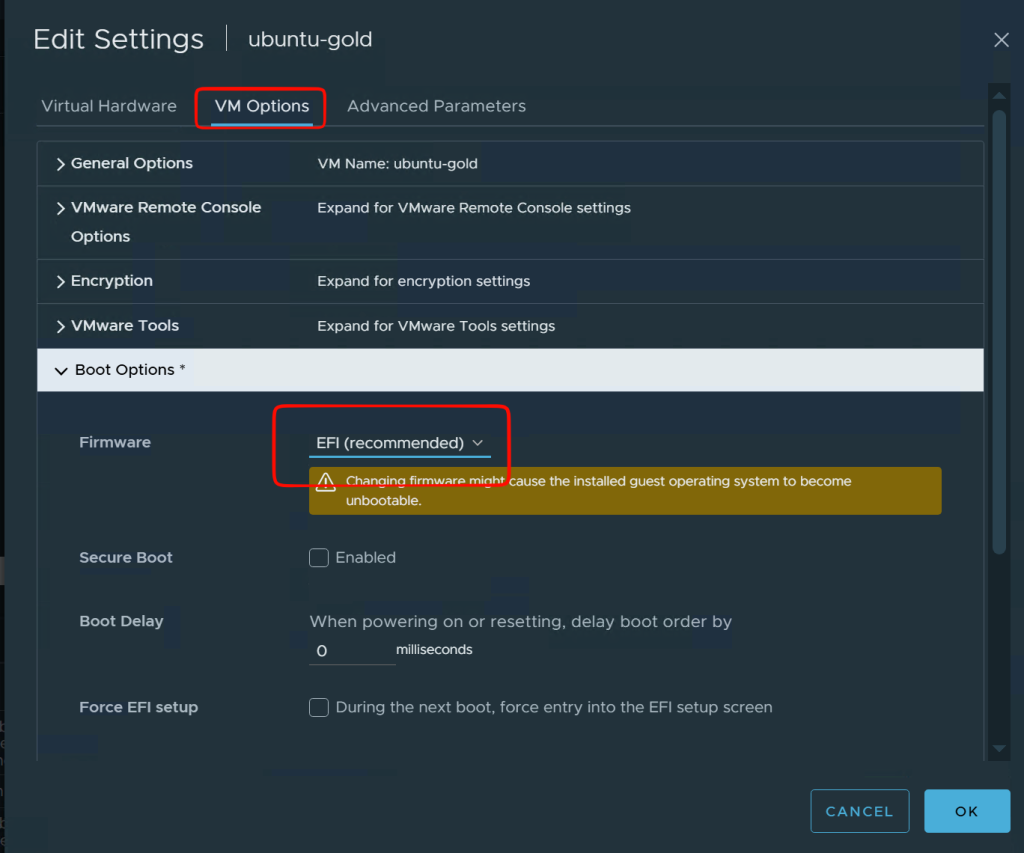
Edit the settings of the VM and browse back to the VM Options tab. Change the Firmware to EFI and press OK.
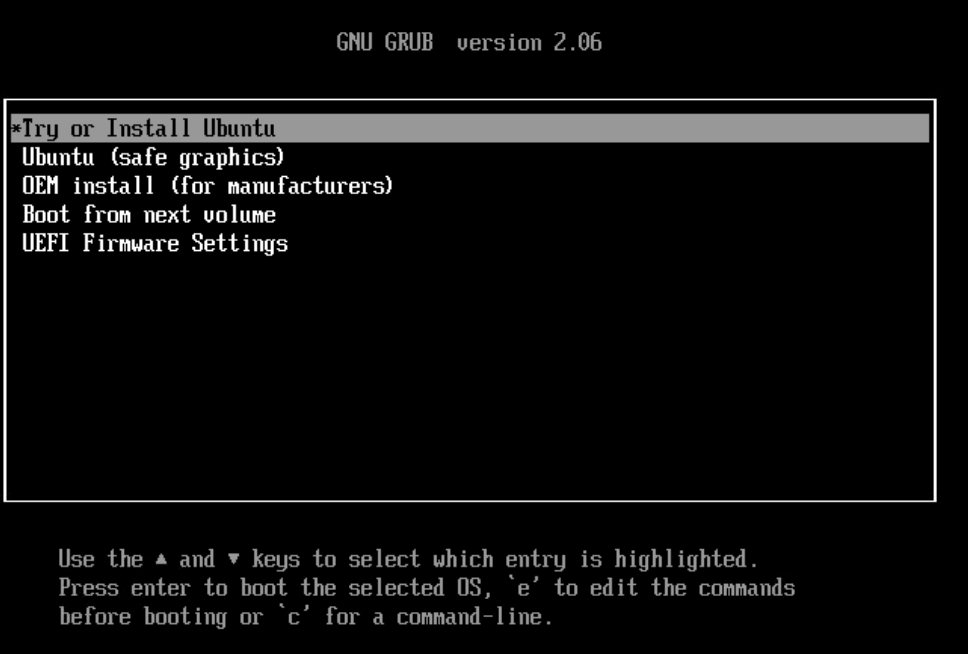
Power up the VM. It boots into the GNU GRUB menu. Select Try or Install Ubuntu
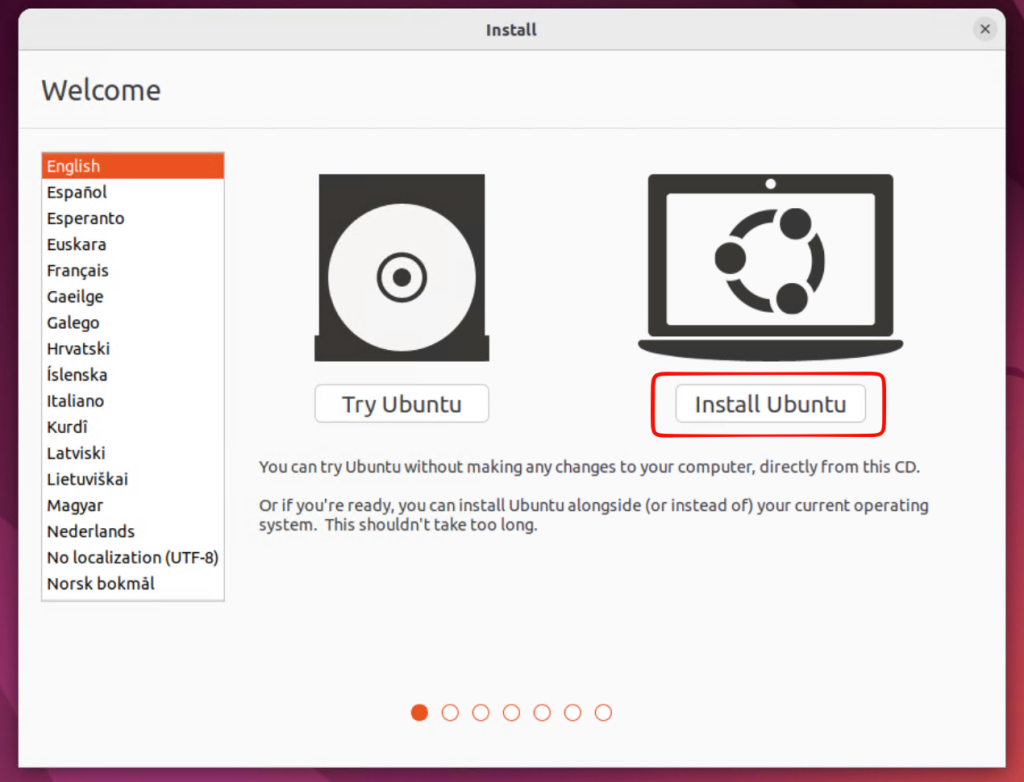
Ensure your language of choice is selected. I selected English. Then press Install Ubuntu.
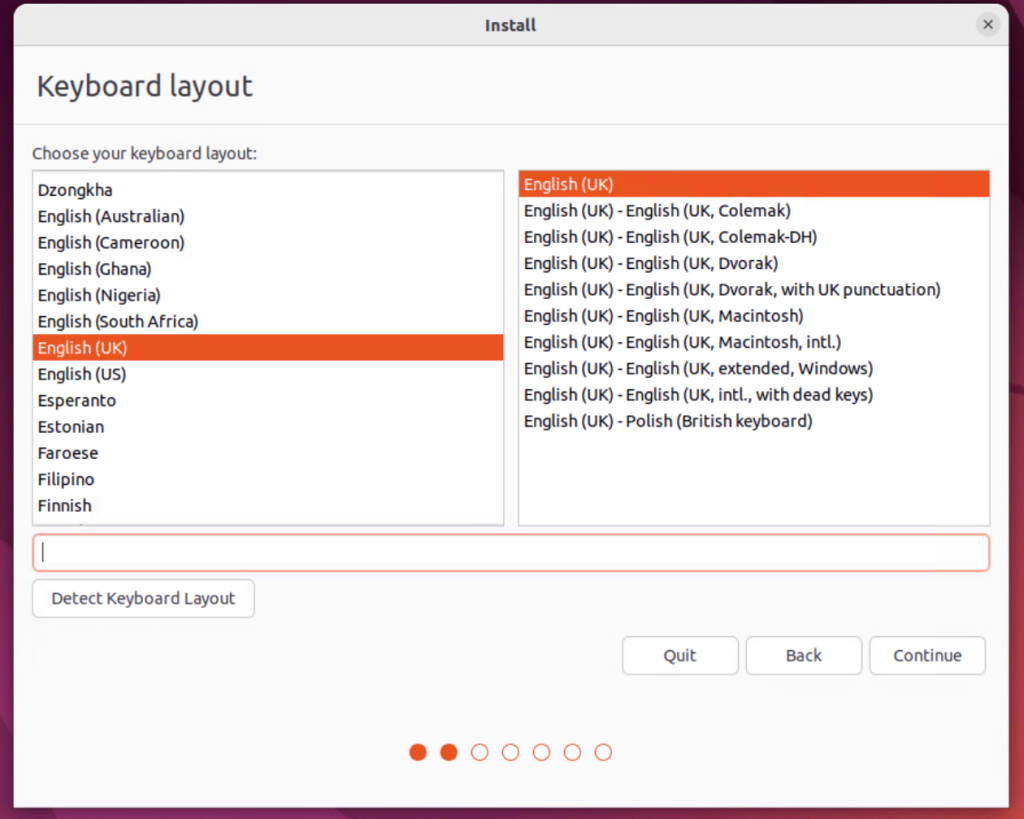
I selected my preferred keyboard layout which is English (UK).
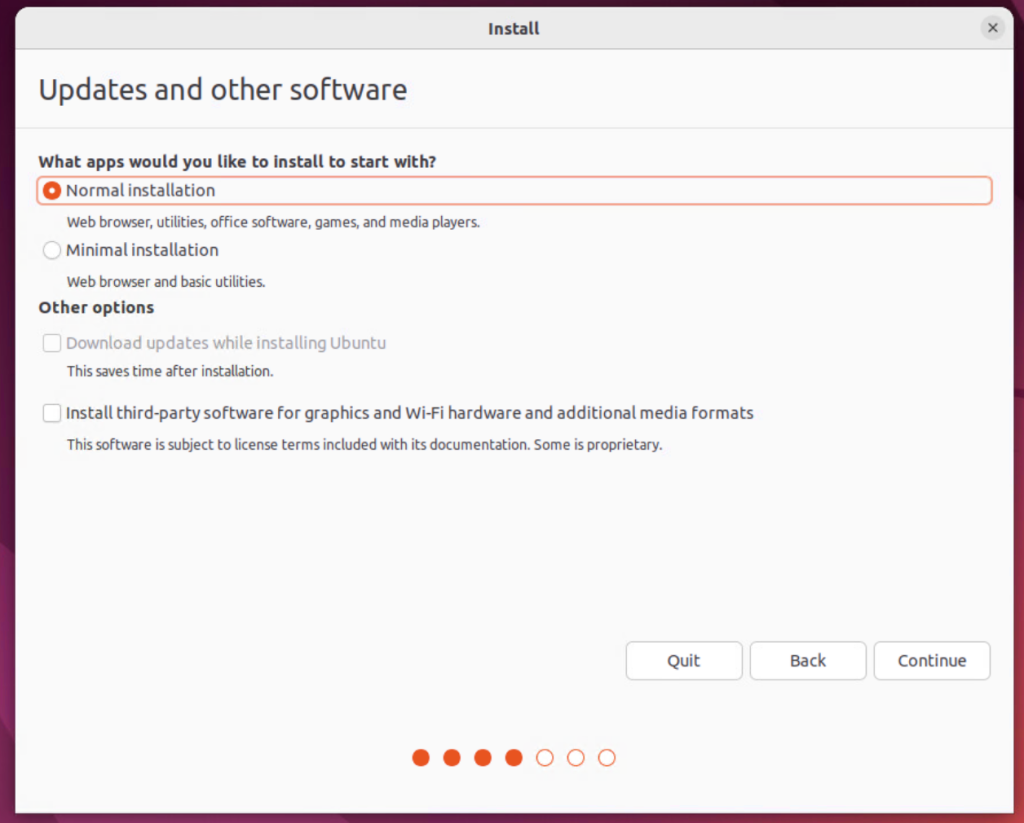
Choose Normal Installation and press Continue.
Choose Erase disk and install Ubuntu and press Install Now
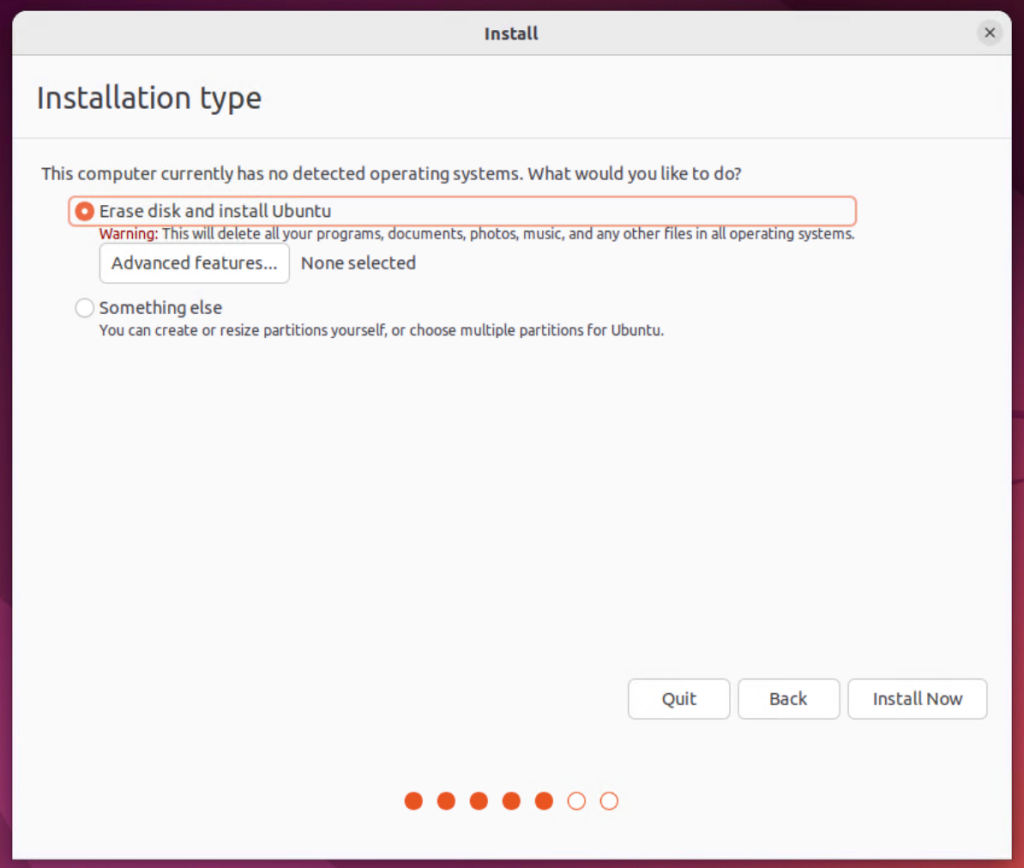
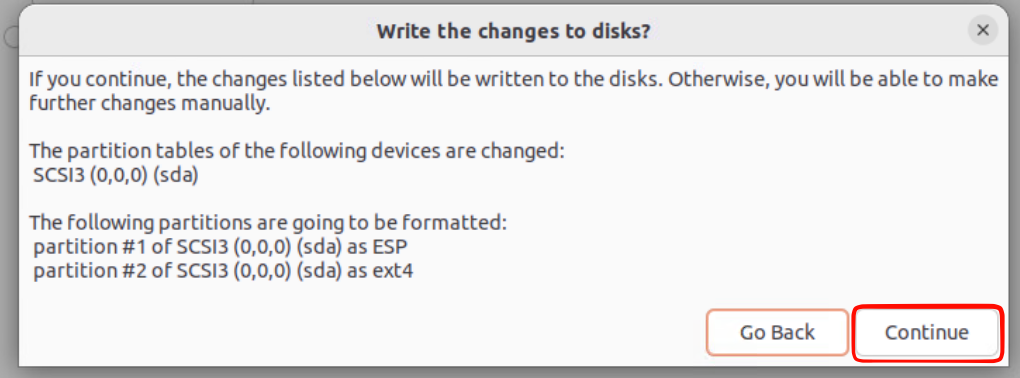
Confirm by pressing Continue
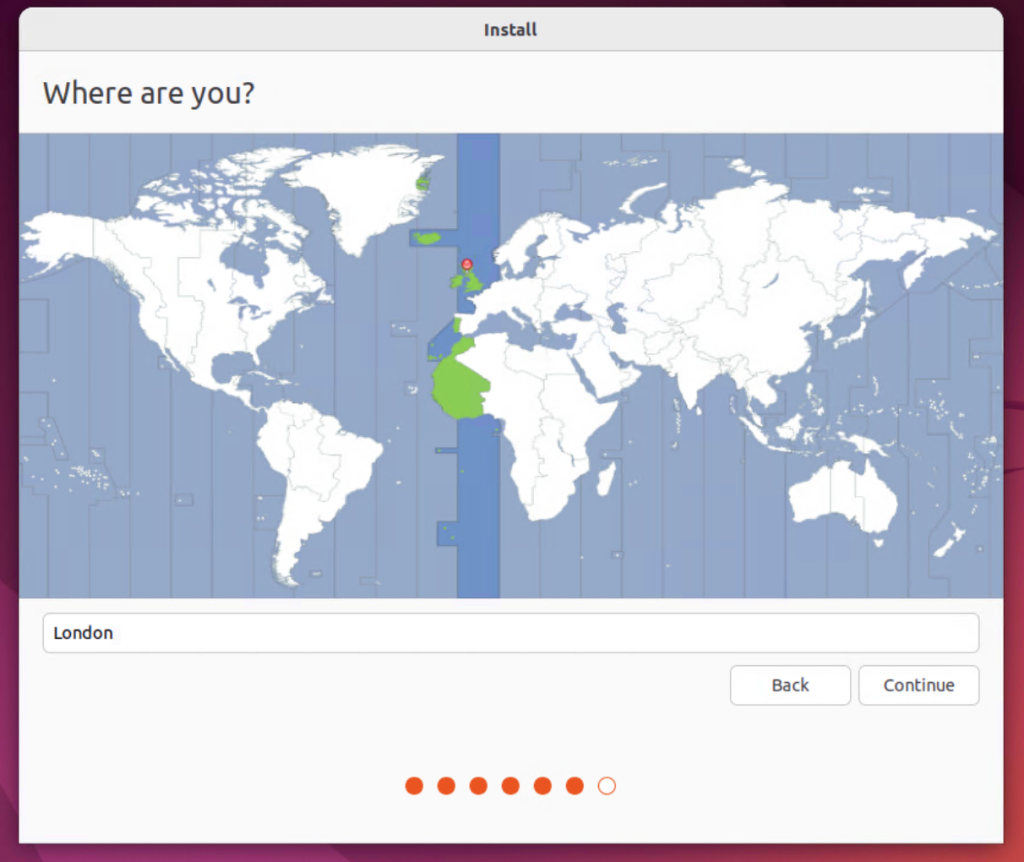
Choose your location and press Continue
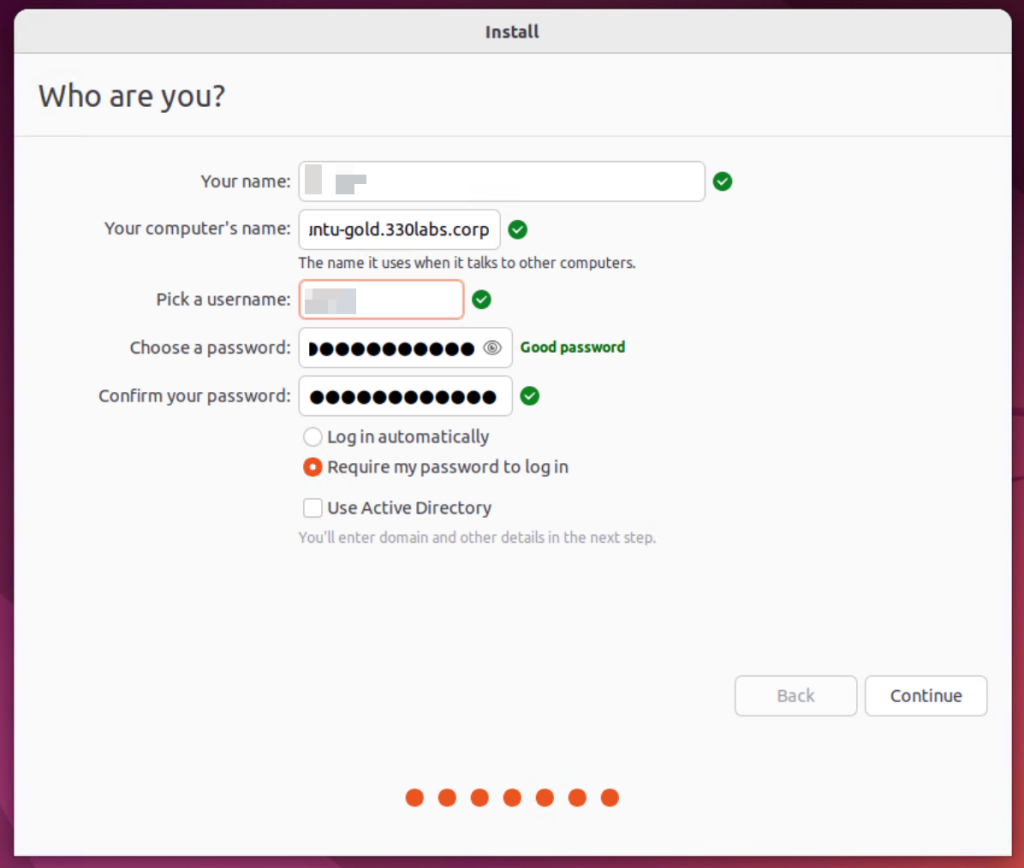
Enter your name and also your preferred username and password and press Continue
The Ubuntu installation process begins.
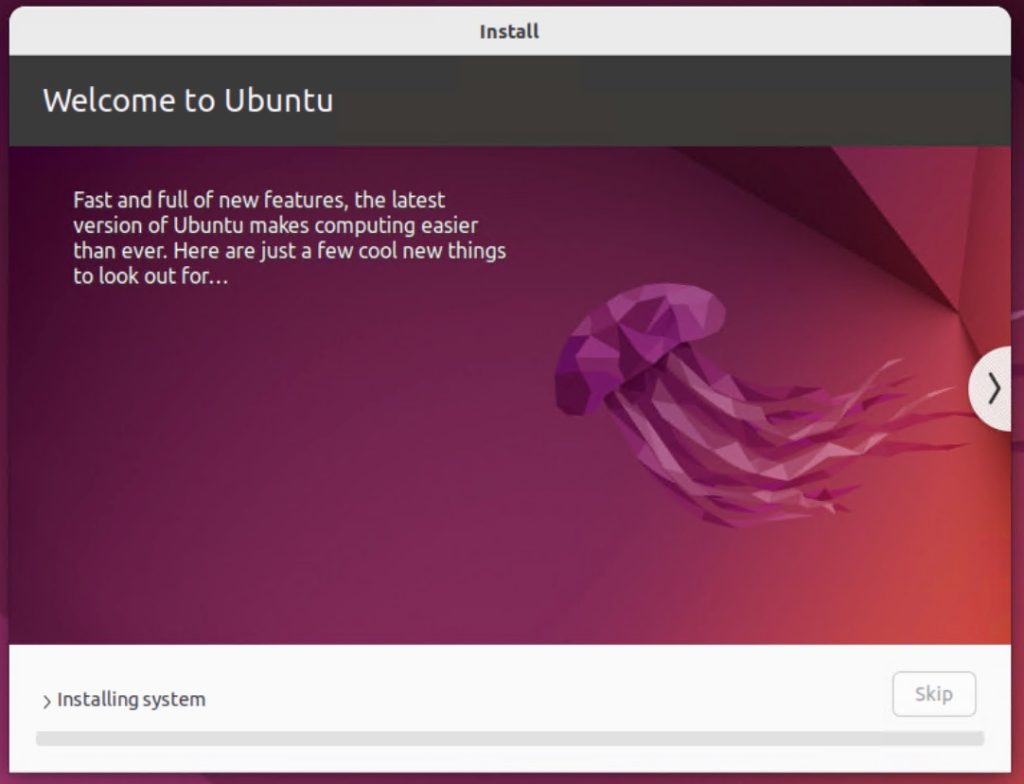
Once complete, you need to restart.
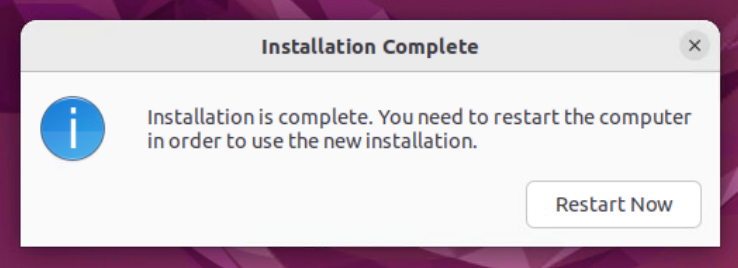
Remove the ISO from the CD/DVD drive of the VM and press Enter to continue

Once the boot process completes, you can log in using the username and password you specified earlier.
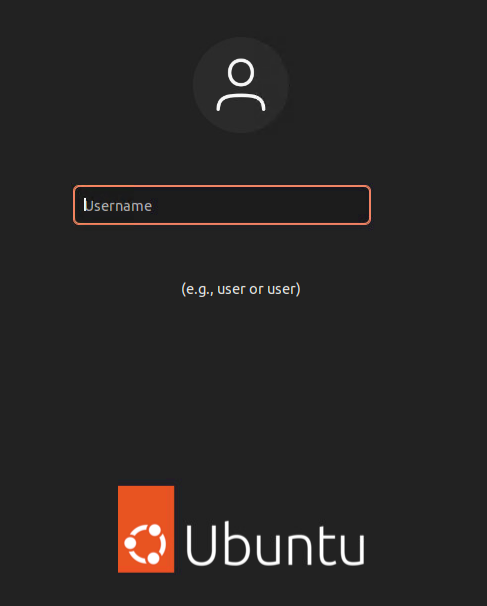
After logging in, you can launch terminal and run the below commands to begin configuring your gold image
Install updates:
sudo apt-get update && sudo apt-get upgradeRemove the Ubuntu Getting Started box for all users:
$ sudo apt remove --autoremove gnome-initial-setupInstall OpenSSH so I can SSH to the VM:
sudo apt-get install -y openssh-serverInstall Net Tools so you can run ifconfig:
sudo apt-get install -y net-toolsEnable home directory creation for users logging in:
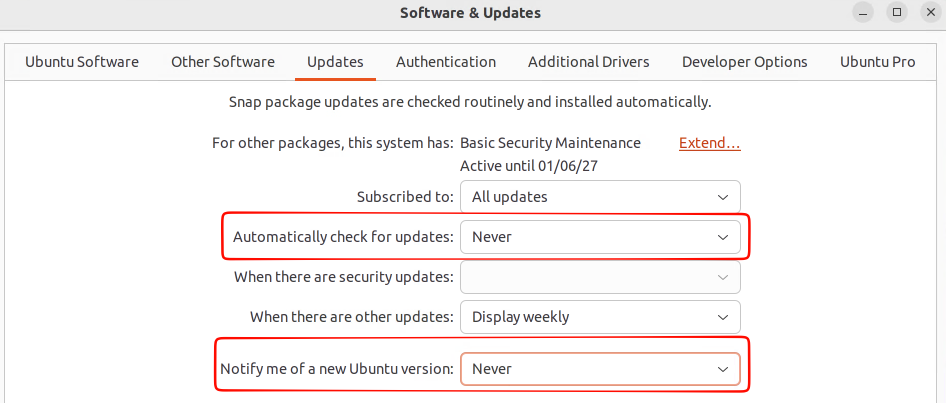
sudo pam-auth-update --enable mkhomedirTurn off automatic Updates:
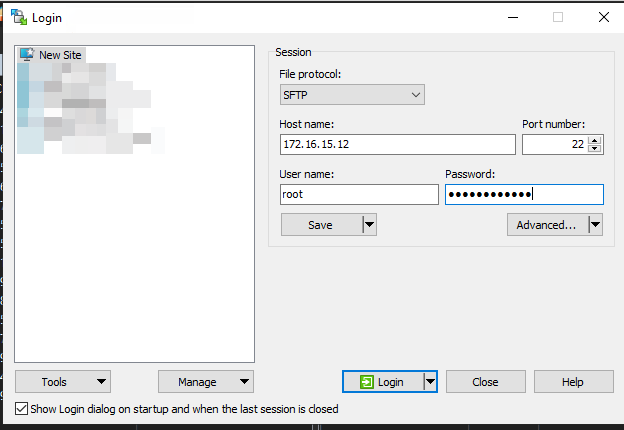
From my admin jump server, I WinSCP to the VM so I can copy the Horizon agent to it
I copy the Horizon agent to the /tmp folder
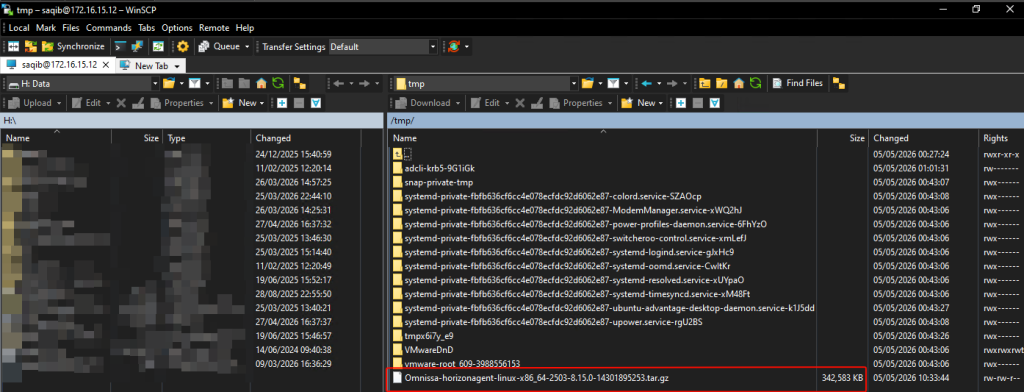
SSH to the VM and unzip the Horizon agent
$ cd /tmp
$ tar -xvzf Omnissa-horizonagent-linux-x86_64-2503-8.15.0-14301895253.tar.gz
Run the easy install script
# cd Omnissa-horizonagent-linux-x86_64-2503-8.15.0-14301895253/
# ./easyinstall_viewagent.sh
The script begins to run and will ask a series of questions in order to configure your gold image. It requires the following:
- DNS server IP address
- Hostname (I leave this blank)
- Domain FQDN
- A domain username that can perform domain join
- Password for above domain username
- The OU where the domain joined computer object will be placed
Welcome to use EasyInstall script to setup Horizon Linux Agent

*** Begin fundamental system check
1: Platform check····································································································································[Done]
2: Linux distro and version check····································································································································[Done]
3: System repositories check····································································································································[Done]
4: Desktop environment check····································································································································[Done]
*** The fundamental system check completed

*** Begin system configuration for agent installation
1: Collect configurations
(1) Input IP address of DNS server (Your input can be either a single item or a list separated by commas, and up to 2 items can be provided. Leave blank to skip)
> 172.16.16.10
* DNS configuration (based on NetworkManager) completed.
(2) Input a new host name (Leave blank to skip)
>
(3) Input the domain FQDN (Fully Qualified Domain Name)
> 330labs.corp
(4) Input the user name used to join domain
> Administrator
(5) Input the user password used to join domain
>
(6) Input the computer OU DN to join (Leave blank to accept the default OU)
> OU=Horizon,OU=Clients,OU=330labs,DC=330labs,DC=corp

Confirm your inputs:
(1) Input a new host name·······[]
(2) Input the domain FQDN (Fully Qualified Domain Name)····[330labs.corp]
(3) Input the user name used to join domain····[Administrator]
(4) Input the user password used to join domain···[******]
(5) Input the computer OU DN to join···[OU=Horizon,OU=Clients,OU=330labs,DC=330labs,DC=corp]
* Do you agree with the inputs above? [Y/n]y

2: Install dependencies
(1) Update repositories····[Done]
(2) Install gnome-shell-extension-appindicator·····[Skip]
(3) Install whiptail·····[Skip]
(4) Install libxss1·····[Skip]
(5) Install libnss3-tools·····[Done]

3: Join domain
(1) Install realmd·····[Done]
(2) Install sssd-ad·······[Done]
(3) Install krb5-user······[Done]
(4) Join domain with SSSD·····[Done]
(5) Post-configurations for SSSD·······[Done]
*** System configuration for agent installation completed

*** Begin Horizon Linux Agent installation
1: General Terms
* Omnissa General Terms and FIPS statement are accepted.

2: Validate default agent configurations····[Done]

3: Install additional packages
(1) Install open-vm-tools·····[Skip]

4: Install Horizon Linux Agent
* ./install_viewagent.sh -A yes
* You must restart your system for the configuration changes made to the Omnissa Horizon Agent to take effect.
During the execution of the script, you are presented with the below screen. Press Accept to continue.
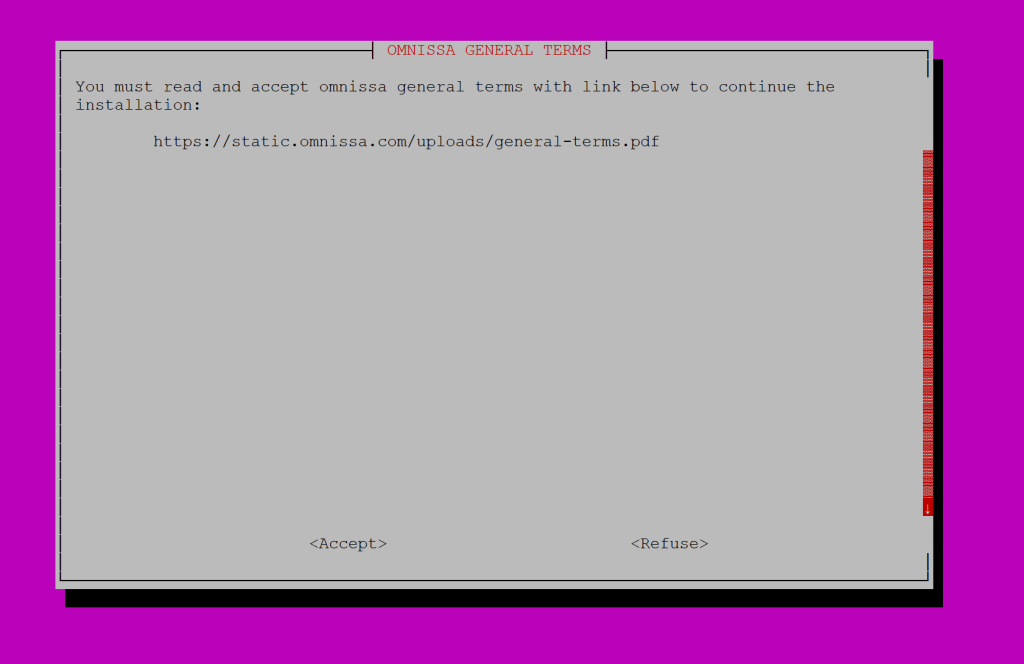
Once the script completes, you must reboot.
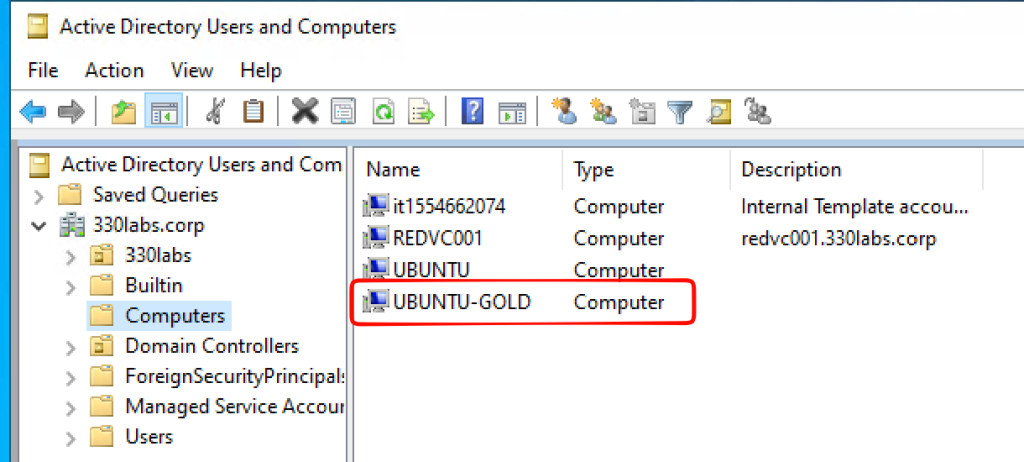
You can check Active Directory to see if the computer object appears after joining the domain.
After the reboot of the VM has completed, you can log in and install any applications you want to feature on the gold image.
I will install Powershell using the below command from a terminal window:
source /etc/os-release
 wget -q https://packages.microsoft.com/config/ubuntu/$VERSION_ID/packages-microsoft-prod.deb
sudo dpkg -i packages-microsoft-prod.deb
rm packages-microsoft-prod.deb
sudo apt-get update
sudo apt-get install -y powershell
Edit the following file to make any adjustments to the Horizon agent configuration:
/etc/vmware/configI need clipboard redirection to work both ways so I enable the following line:
Clipboard.Direction=1Cleanup the command history of the VM and shutdown before taking a snapshot:
sudo rm -rf /tmp/*
sudo rm -rf /var/tmp/*
sudo rm -f /etc/ssh/ssh_host_*
history -c
sudo shutdown -h now
You can now take a snapshot and go through the normal process of creating an instant clone desktop pool.
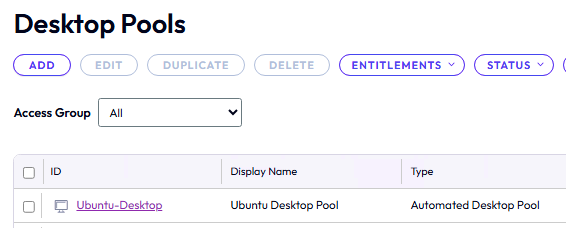
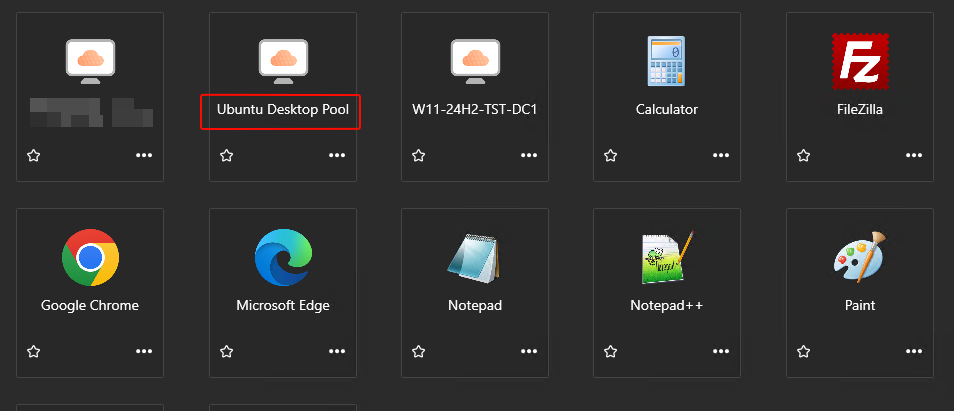
I log on to my Horizon environment and see the Ubuntu Desktop Pool available for my user
I successfully launch the Ubuntu desktop
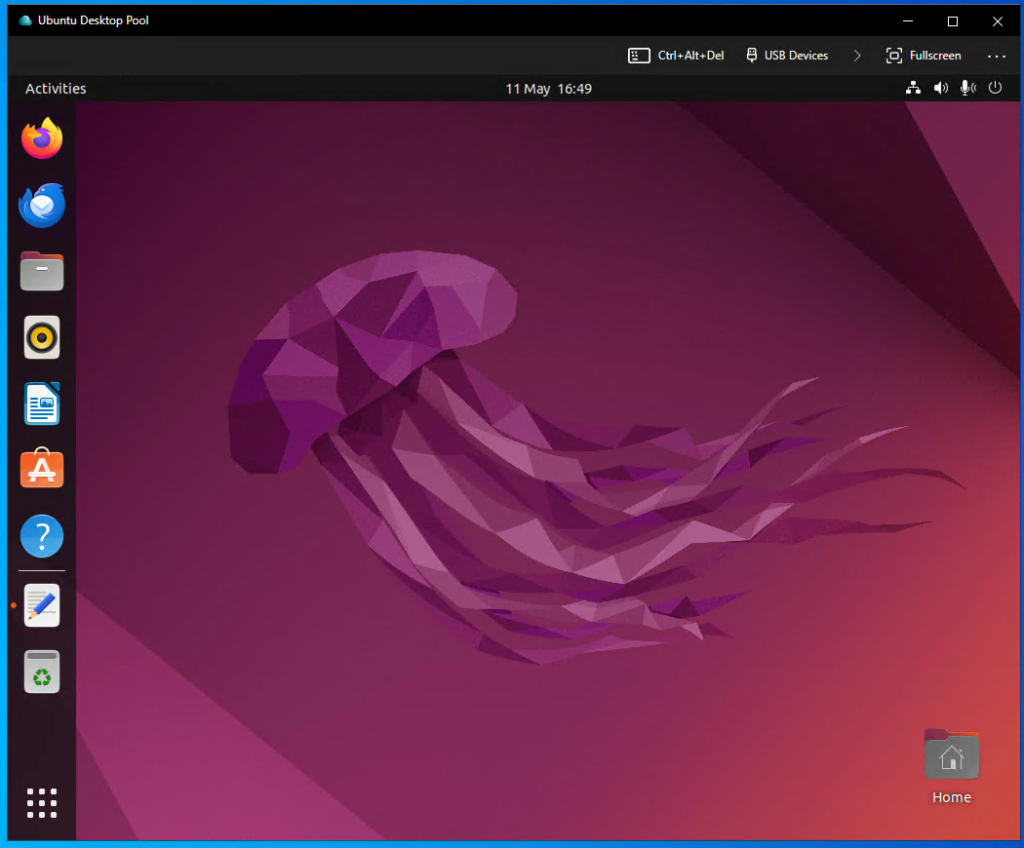
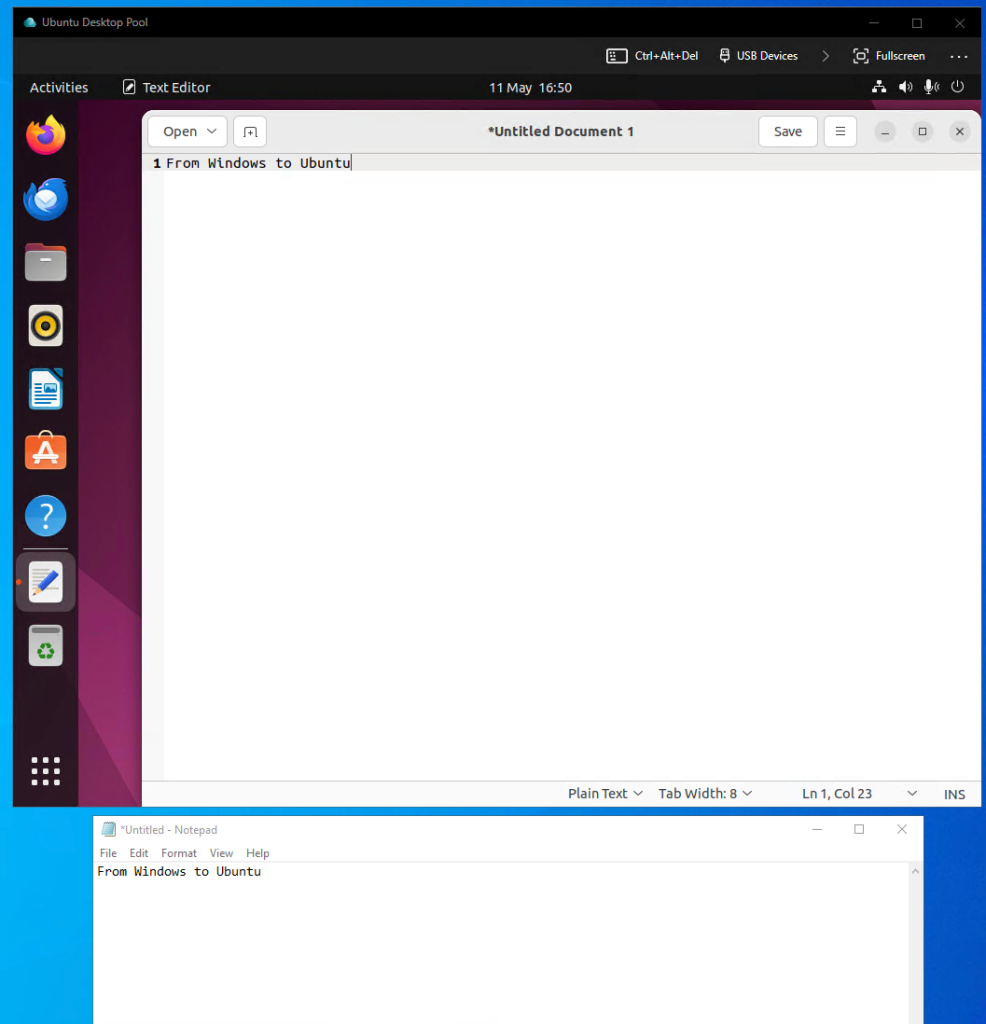
I do a simple clipboard test to check if the clipboard configuration applied, by copying from my Windows machine to the Ubuntu desktop
This concludes the tutorial on how to create a Linux based golden image for a Horizon VDI environment. I hope you found this useful.
Sources used: